
I am so excited to be here and to have this opportunity to share with you this technique. When Diane and I started talking a few months ago, we realized very quickly that our’s was a case of “Sistas from anotha Mista.” I was pretty pushy enthusiastic about she and I starting a blog together. But the reality is that I don’t have time to commit to one on a regular basis, and since her painting gig is full time (that woman is dedicated!) we decided that she should be the star of her own show, and I would occasionally pipe in with suggestions, complaints, and tutorials. It would all be quite civilized, and I would do a simple tutorial on something you lovelies would find interesting. Just one sample board.

So here we are..she is in the Motherland..and I have control.
Here are a few things you need to know about me.
- I make awe inspiring pancakes and French toast
- I dislike Yoga
- I own three dogs and occasionally you may see evidence of them in my photographs
- I am prone to breaking out in song and dance while painting
Let’s do this.
This tutorial is for a technique on how to create that fabulous, chippy, old barn wood look using chalk/clay based paint. You can use whatever brand of paint you choose for this technique. I happen to love Annie Sloan’s Chalk Paint™ and used it on these samples.
One of the issues with using a chalk/clay based paint for a chip effect is that it tends to stick really well to most surfaces. Since chipping paint is an indicator that the finish on a piece has failed (normal wear over time, or due to elements, or substrate) the stickiness of the paint makes it harder to achieve that look.
Of course it’s possible to use milk paints, which can create a great flaking/chipping finish..or they might not. They also might flake off the entire piece, leaving you with a little patch of unflaked, unchipped paint. Like the gorgeous young man you loved in college who read poetry, wrote songs about you, and played his guitar by candlelight, but then who one day decided to become a celibate novitiate at a religious center in the Berkshire Mountains .. they are beautiful, but can be unpredictable. But also like that young man, there is a time and place for its use.
In short, I’ve personally learned to appreciate some reliability in how my paint performs.
Another occasion for this technique is that we sometimes encounter boring perfectly smooth surfaces, when what we have is a hankering for is a little texture and character. If you like working with chalk/clay paint, but want it chippy and textured, you can get a great finish using this method.
First off, you will need the following items:
- a piece of furniture or sample board
- your choice of paint brushes
- a palette knife, Spackle knife, or similar item
- embossing cream
- faux wood grain rocker or tool
- sand paper (320 is a good grit for this)
- shades of paint in whatever color you desire
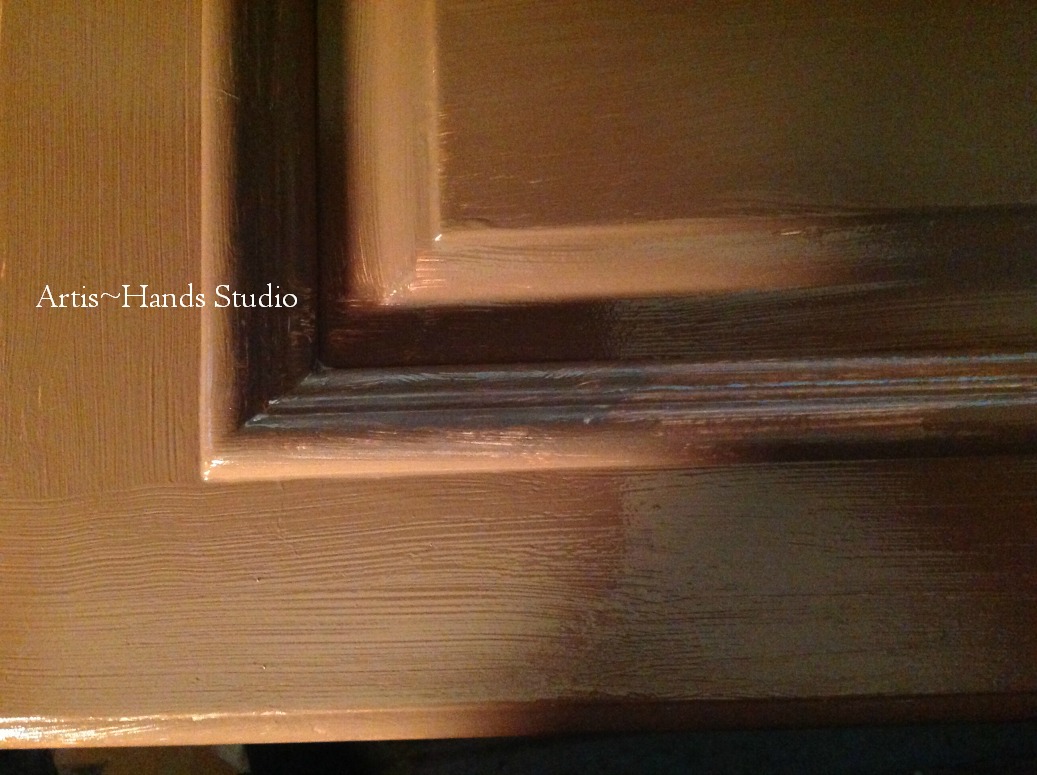
Start with a clean surface. Here I used a glossy, off white kitchen cabinet. It came from a high end, custom kitchen store, and had that plastic “ain’t nothing gonna stick to this” kind of finish.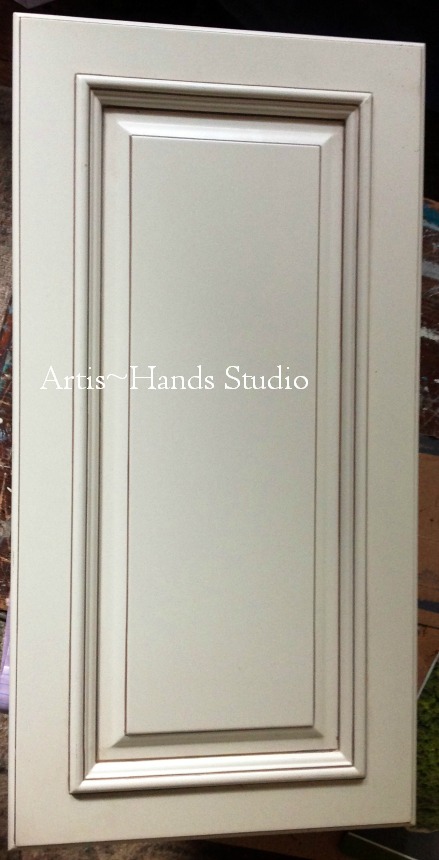 Since it was so slick, I just skimmed over it with a 320 grit sand paper. Hardly enough to kick up any dust (I promise). Next, I mixed Barcelona Orange, Primer Red, Graphite, and Olive. It makes a lovely, warm brown. This is the base coat. You will see bits of this color in your chipping and wood grain. There is no need to be particularly neat right now. In fact, brush marks are your friend, just make sure you use them in the direction you want the wood grain to go. Go ahead and paint your base coat and let it dry. I will wait until you are done.
(commence interpretative dance and dogs howling)
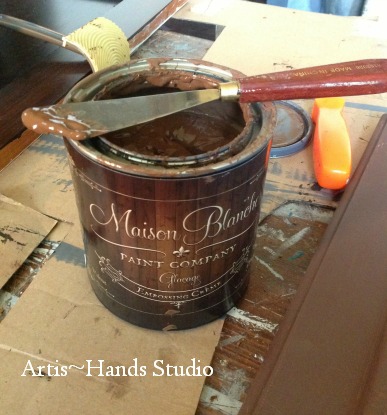
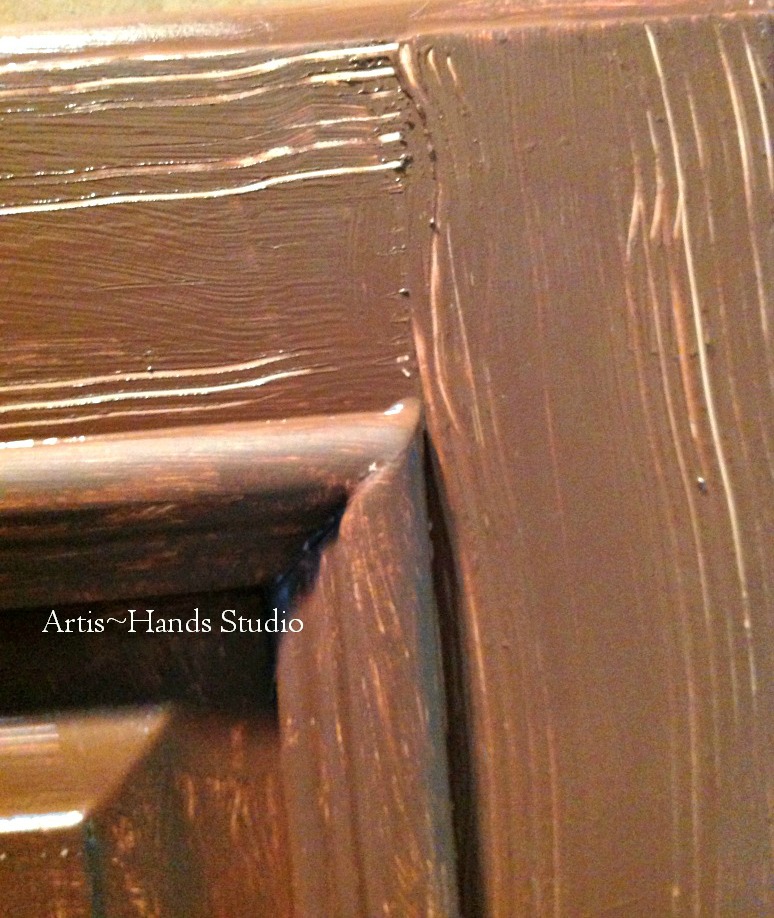
OK, so now you should have something base coated with your color of choice, and it is dry. Next, bust out the embossing cream, wood graining tool, and palette knife. I love Maison Blanche’s “Glacage,” but use your preference. I chose a walnut brown color so that it matched the base coat pretty closely. This is the color that you will see most in your grain and chipping.
Here you have a decision to make. Do you want a lot of chipping? Or do you want a lot of heavy wood grain? Both? Do you want just a hint in the corners where moisture might have separated the wood joints and worn away the paint? Or did your piece weather the last 200 years in a barn in France..with all the scars and chips to prove it? The more medium you use, and the heavier the layer of embossing cream you trowel on, the deeper the grain of the wood in your end result. Deeper grain, more chips = looks older.
I see proof of this in the mirror every day.
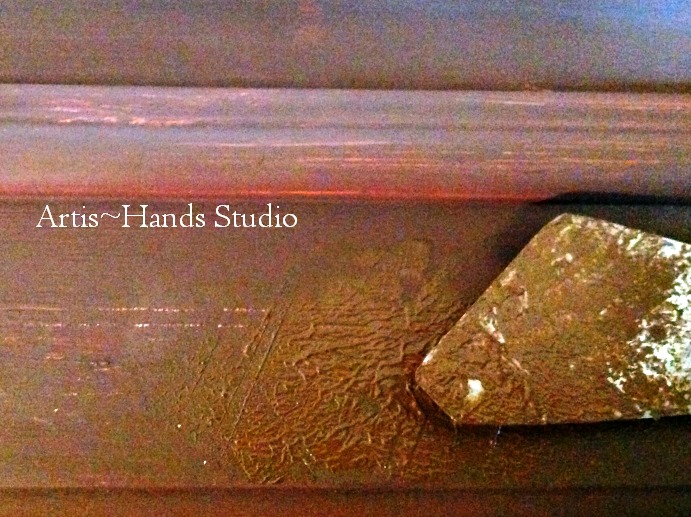
OK, my darlings … take your palette knife, and trowel some embossing cream onto the areas where you want your chipping and texture to occur. See the picture above with the palette knife on the can? That’s a good amount to start with until you are more comfortable with the medium. Just smooth it out on your piece little by little. Use the flat side of the knife and hold it at a slight angle while you drag it. If you find you used more than you want, simply trowel some off (while it’s still wet).
So you are troweling now..getting the feel of this medium, having a blast, and you have a coat of embossing cream on your piece where you want your graining and chips. The next step is to use your wood grain tool.
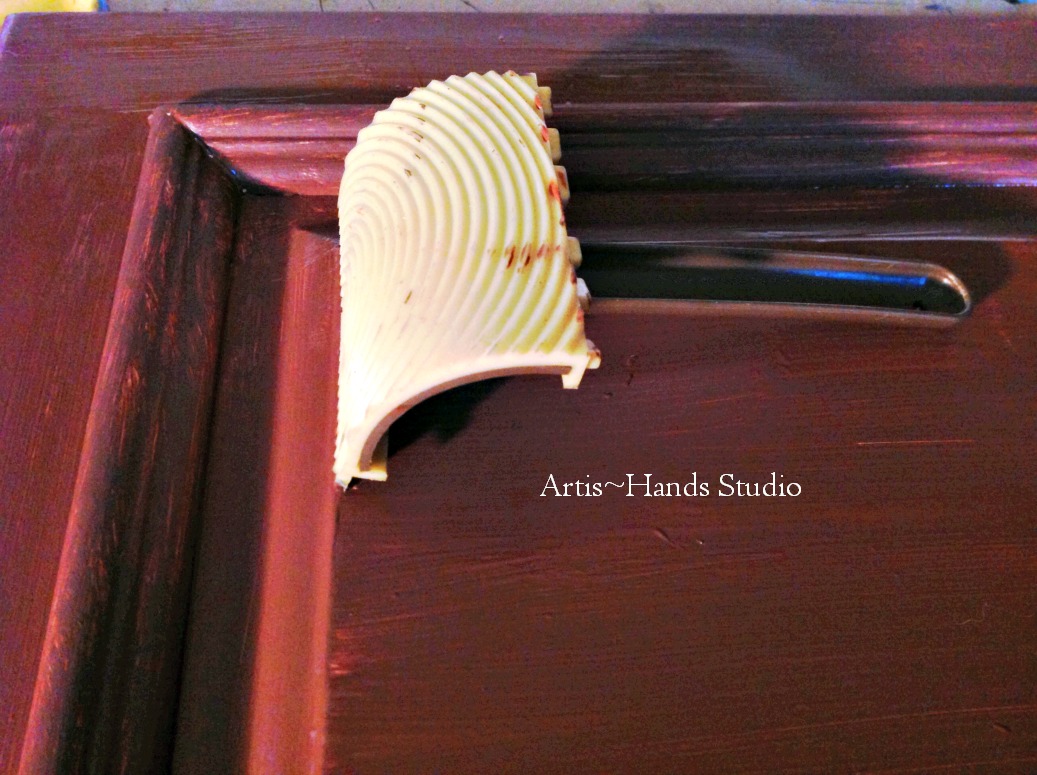
Gently slide the rocker (using the wood grain teeth pattern that you choose) and create some grain lines where you want to see grain. Don’t worry if some of the paint underneath it streaks a little. You are going to apply more paint that will cover it up.
Now you are going to create your chips. Take some more embossing medium and kind of … plop..it onto where you want your chips. Using your palette knife, gently press the flat side into the “plop” and pull the knife up. You will see that it makes little divots and peaks on the embossing medium. Do this wherever you want that chippy look to occur.
If I were Diane, I would suggest that you now have a glass of wine and relax, because this needs to dry. However:
- I am not Diane
- I drink Gin and Tonics
- Pancakes are a highly bio-available source of carbs, and give you energy
- You will need that energy for all the sanding you will soon be doing (you can thank me later)
If you are impatient eager as I often am, then use a hair dryer and help this process along. If you hold the dryer close, you will actually move the medium around, and you can also create some more cracking as you accelerate the drying. This can be good or bad, depending on how married you are to getting the chips and grain to look exactly as you placed them. I suggest a little flexibility.
Now that the embossing medium has dried, you are going to add a thin coat of paint. In my samples I used Annie Sloan’s Paris Grey, and then brushed in a mix of Old White and Graphite. I watered it down just a little to give it some flow. My reason for adding this layer is the dimension it gives when we sand in a later step.
Being a horsewoman, I have spent a lot of time looking at old barns..the 200 year old kind. You can see the layers of paint, dirt, lime wash, and silvery grey weathering. It’s beautiful and dimensional. I love to see that in painted furniture. It can take a piece out of the just “painted” place, and bring it into a living, feeling, breathing place. I am sure you all know those pieces when you see them … and I imagine that they make your heart go pitter-patter, too.
So just humor me and do this step, OK?
 Once this layer dries, you will paint your final coat. I know, I know..finally!
I used Annie’s Pure White as the final coat on my sample.

Again, let it dry. Using your 32o grit sand paper, you are going to sand gently..GENTLY..and start to reveal the under layers we just painstakingly created, and so rudely painted over.

As you sand, remember that we are creating an effect that happens over time, so it isn’t perfect. Also remember that when wear occurs naturally, it doesn’t usually happen in perfectly straight lines. So while you sand, I want you to think of the trees in the forest, green rolling hills, and gently falling rain. If you have the urge to sing like Julie Andrews, please have someone video you and post the link below. We are your friends, and would never laugh at you. In fact, I am singing right now.
When you are happy with your sanding efforts, finish with your chosen topcoat. These samples are waxed with 3 coats of Annie’s wax.
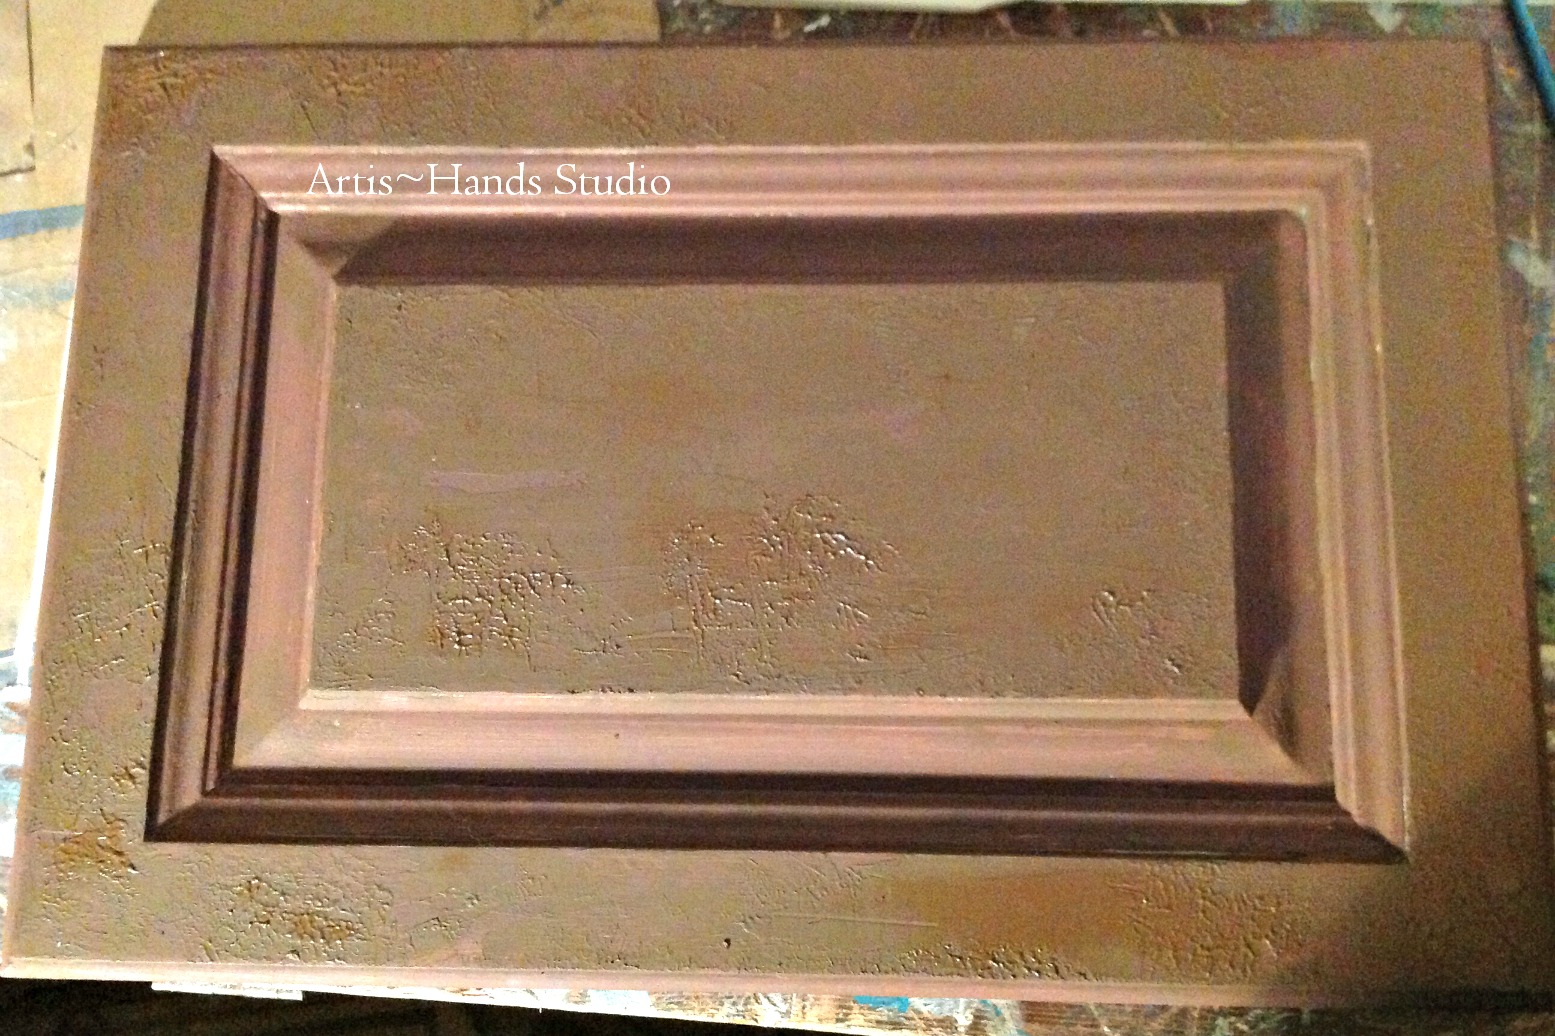
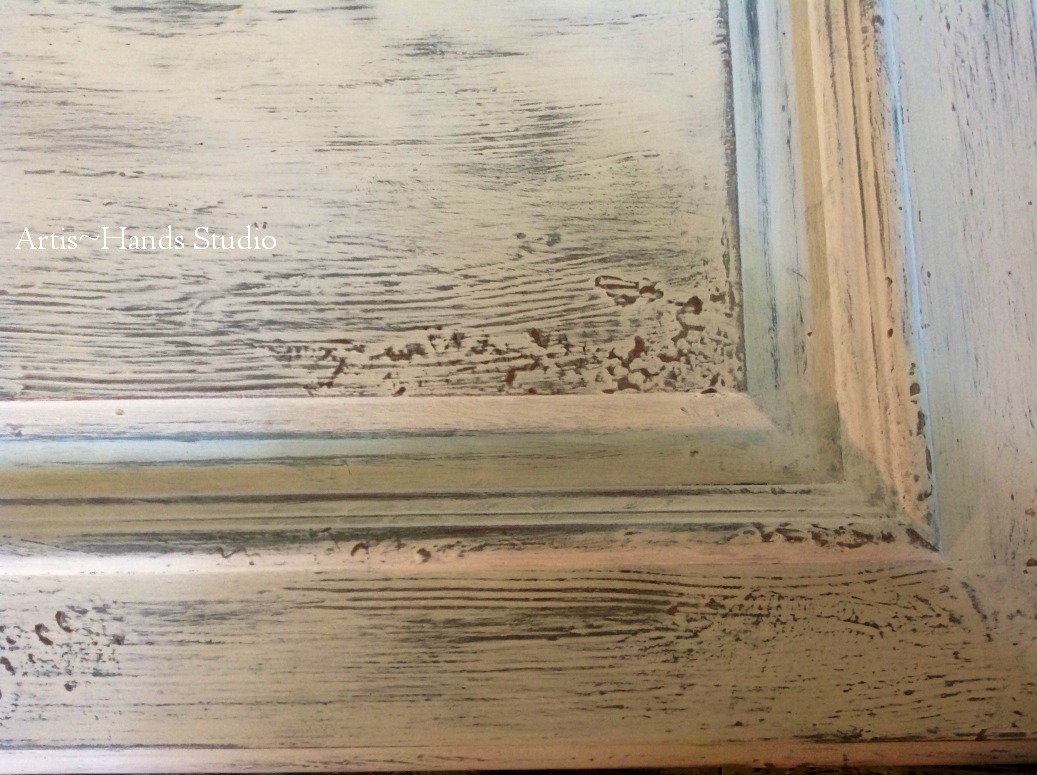
What you will end up with is something that looks like this:

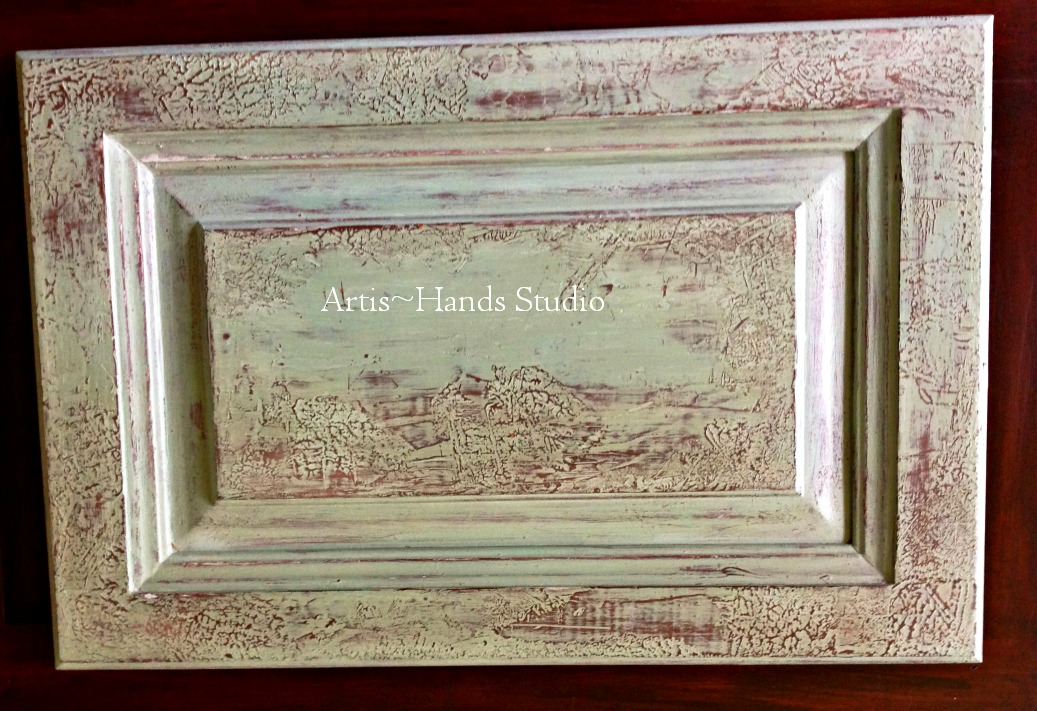
I also did a sample board for you in a different color, with far more chipping and less wood grain so that you could see the different style you can achieve with a heavier loading of the embossing medium. It is the same technique, but the heavier application gives it a slightly different feel.
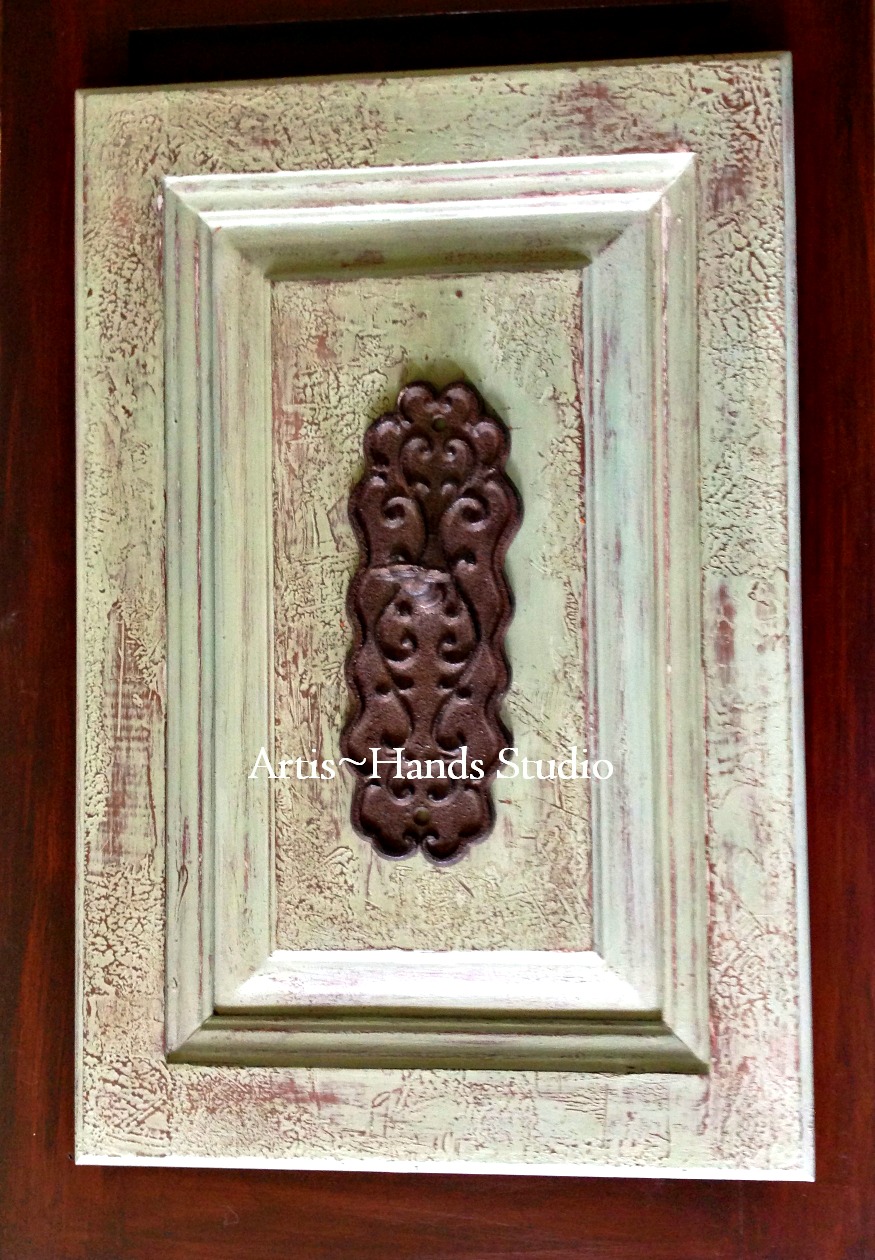

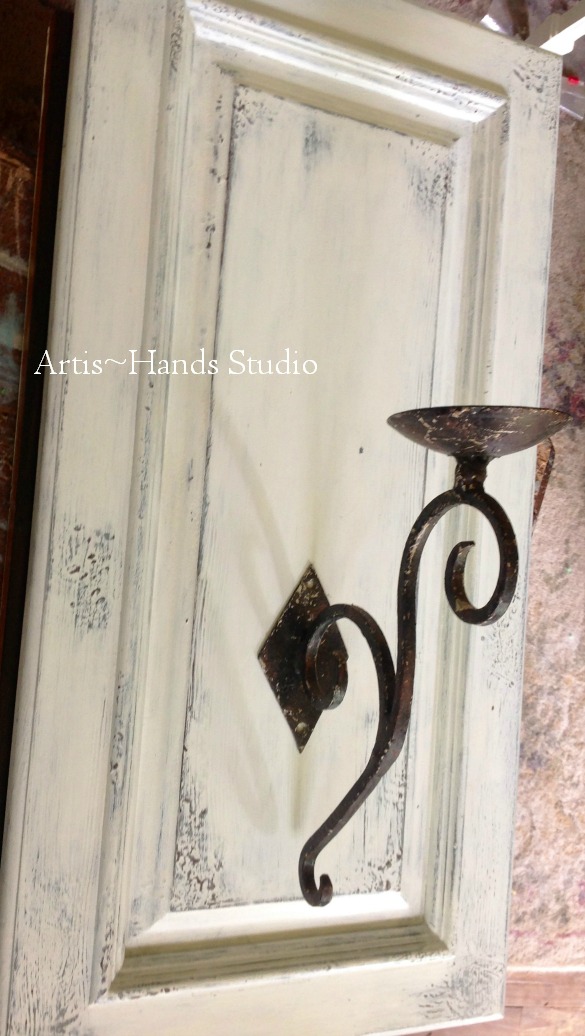
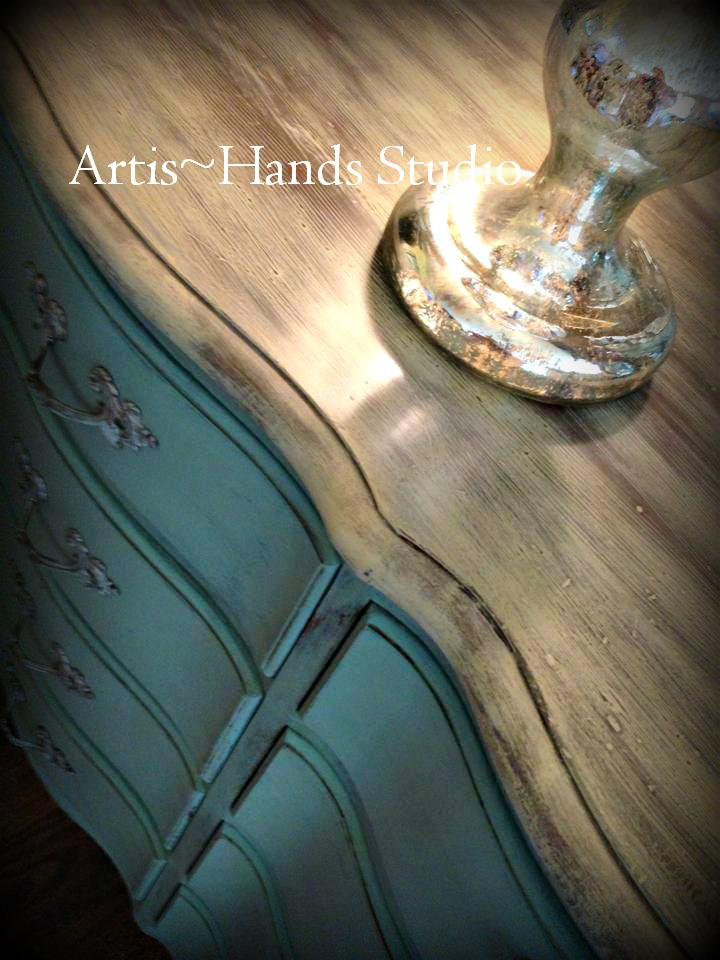
There are numerous applications for this technique. It can be sanded smooth, or left with actual texture. Here is a dresser on which I used this technique. The top is smooth as silk.
So there you have it! Let me know what you think, and if you have any questions I will do my best to answer them.
Oh, and remember the giveaway! Share, Like, and Love!
********************************************************************************
Heather Akers is a forty-something who picked up a paintbrush at the age of four, and thought to herself “How do I make this work?” She has been trying to find the answer ever since. Her work is sold in several boutiques throughout the New York City area, and she has a busy commission practice. She is coupled up with a wonderful man who understands her need for lots of great shoes and encourages her endeavors, and who doesn’t play guitar or write songs. She has three perfect dogs, no children, and dreams of a house on the sea coast in which nothing will be painted white. She loves ALL the colors.
She can be found on Facebook at https://www.facebook.com/ArtisHandsStudio
[contesthopper contest=”224″]
Excellent Excellent Diane would be pleased!!
Thank you, Robyn! I’m so happy you like it!
Another great tutorial, thank you!
Thank you!
Thank you so much for sharing this , it is the look I love . My aim is to do a piece that someone has to look twice to figure out if it’s old patina or newly painted. Great job explaining the steps.
Thank you, Linda! Please let me know if there is anything I can do to help.
Heather, you are just amazing! I loved reading this!
Thanks, Jodi! You are also amazing! 😀
Wow! That was incredible! The writing, the explanation, everything! Thanks for all the work you obviously put into it
My thanks to twinny!
Thank you, I am so glad you enjoyed. It was a blast to put it together. On a side note, I am taking up a collection to send Diane abroad again…so that I can commandeer the blog one more time!
Heather
All denominations of currency accepted 🙂
Wow… Pitter patter, pitter patter… be still my beating heart- wow wow wow – Love it!!!!
She’s pretty good, isn’t she 🙂
***hugs**
Awesome tutorial. I think I can, I think I can, I think I can. By george I think you have convinced me to give this a try. Thanks.
Yvonne, let me know if I can help you with this. It’s a really fun project, and there are so many applications on which you can use it. Good luck, and paint on!
Is there another name for embossing cream in England please . Love your tutorial x
Vivien – can you find modelling paste over there? I think it’s probably the same thing. Heather did this blog, so I’ll check with her. But look at something like this.
http://www.amazon.co.uk/Liquitex-946ml-Flexible-Modelling-Paste/dp/B001US4S1I/ref=pd_sim_sbs_kh_3?ie=UTF8&refRID=1X8SW85HJVHQYXZNT0NK
Hi Vivien, there is a company called Autentico in the UK who sells an embossing paste/cream. The product is called Terrapieno, and will work the same way as the Glacage that I use. Post some pictures of the work you do with it!
Great tutorial! Thankyou!
Thanks, Robin!
Good pictures
Good tutorial
Good job wording it!
Thanks, Barb!
Heather needs to do more blog posts!