
The reason why this screen ‘happened’ rests on the shoulders of two people:
For the purpose of this post, I shall refer to them as “Don” (husband) and “Cortney” (friend). 
If you’re ever seen any of my pathetic attempts at staging, you will quickly deduce that Don hates me. Yup, he really does. He hates me so much that he refuses to buy me wood flooring. That’s the only feasible reason that I can think of. I have about 12 inches of wood flooring in my hallway, and that’s it. Rather sad, I know. All of my photos have to be taken in my hallway – by the staircase. I can not let people know I live in a house with stinky horrible carpet. The shame, the shame…
This practice was tolerated (until friend, Cortney) started giving me a hard time about staging pieces by the stairs. ‘It looks as though you’re keeping them’. Now, that’s all well and good for Cortney to say, but she has an amazing store to play with. I have 12 inches of flooring. Even when I decided to venture outdoors (facing the cruel elements) to stage my pieces. Cortney wrote on my FB page that my grass needed cutting.
 (I would so ditch the both of them, except Don still has wage earning years ahead of him; and Cortney works for the police department (plus she’s younger, and as far as I know she could be ‘packing’). So – for obviously reasons – I don’t want to tick Cortney off.
But still.
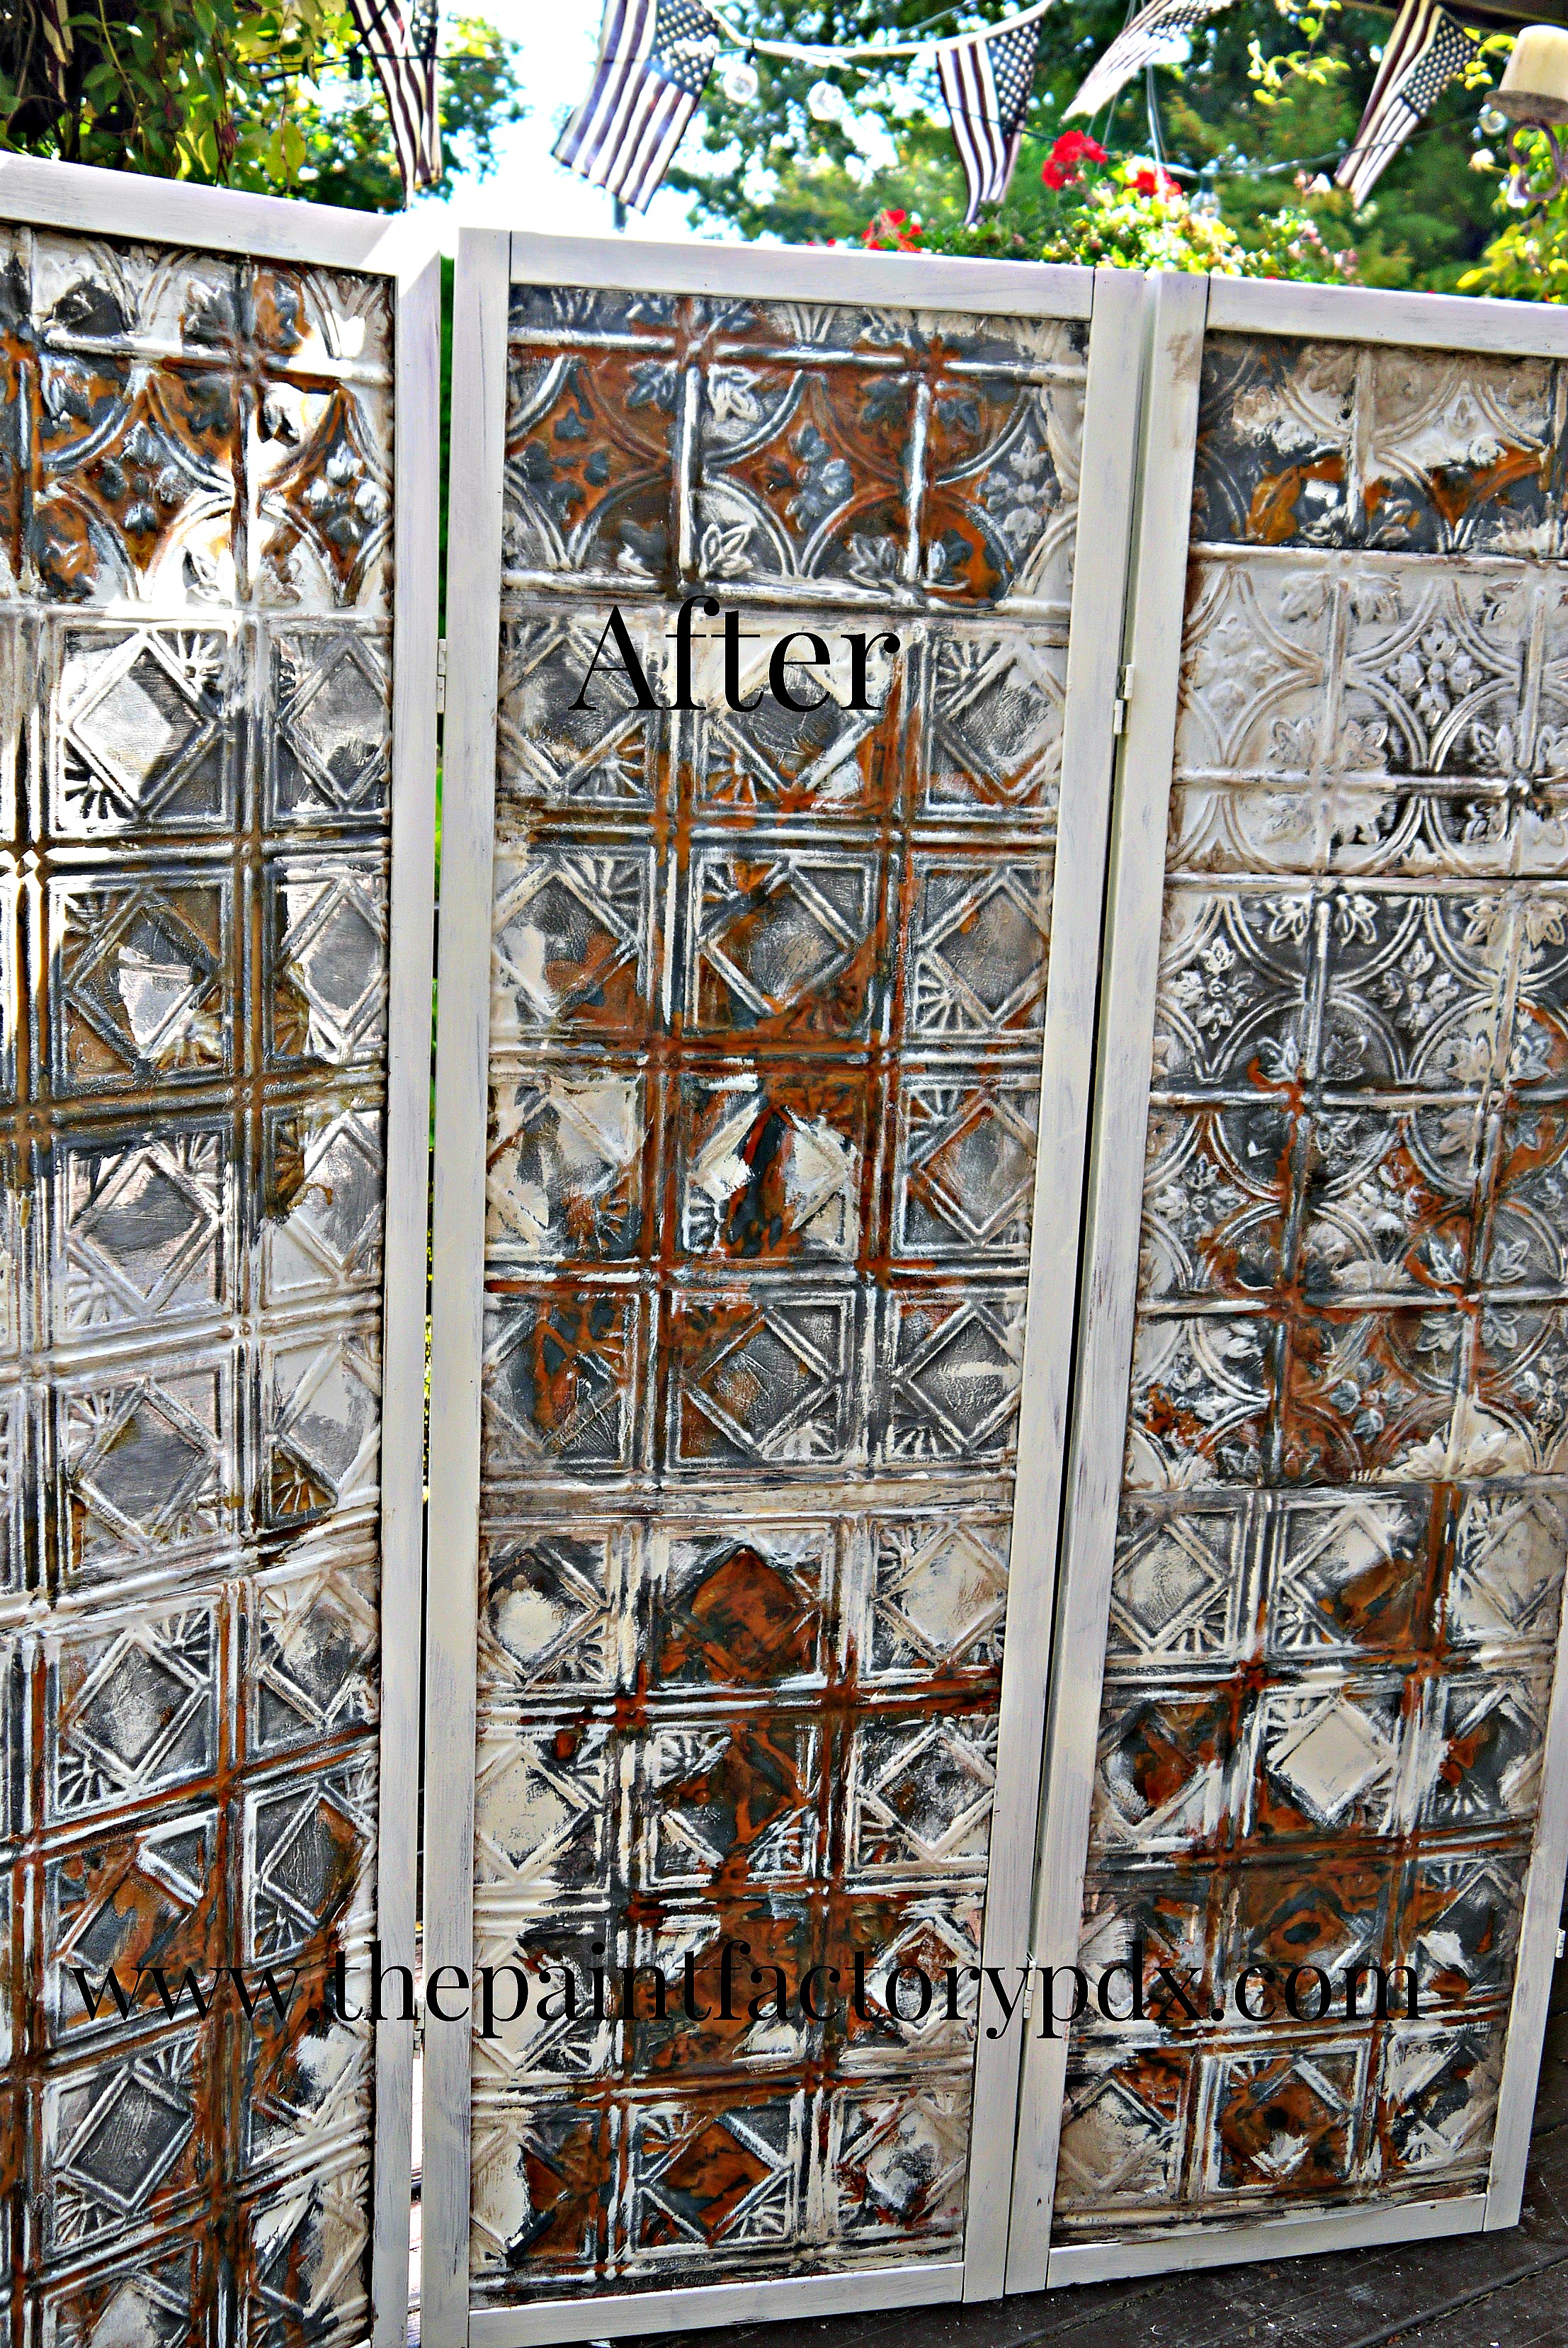
So – short story long – I needed something that could add to my non-existent staging equipment. Enter the screen.
It’s a Japanese screen. I bought it for $10 at a yard sale (and that was about $9 too much, in my estimation).  My daughter had used it for a while, and then tired of it. So it became mine. By default. Even though I was the sucker to wasted $10 on it.
So – I had a crappy screen. And it was in my garage for a long time. In my garage I also had these fake tin panels. 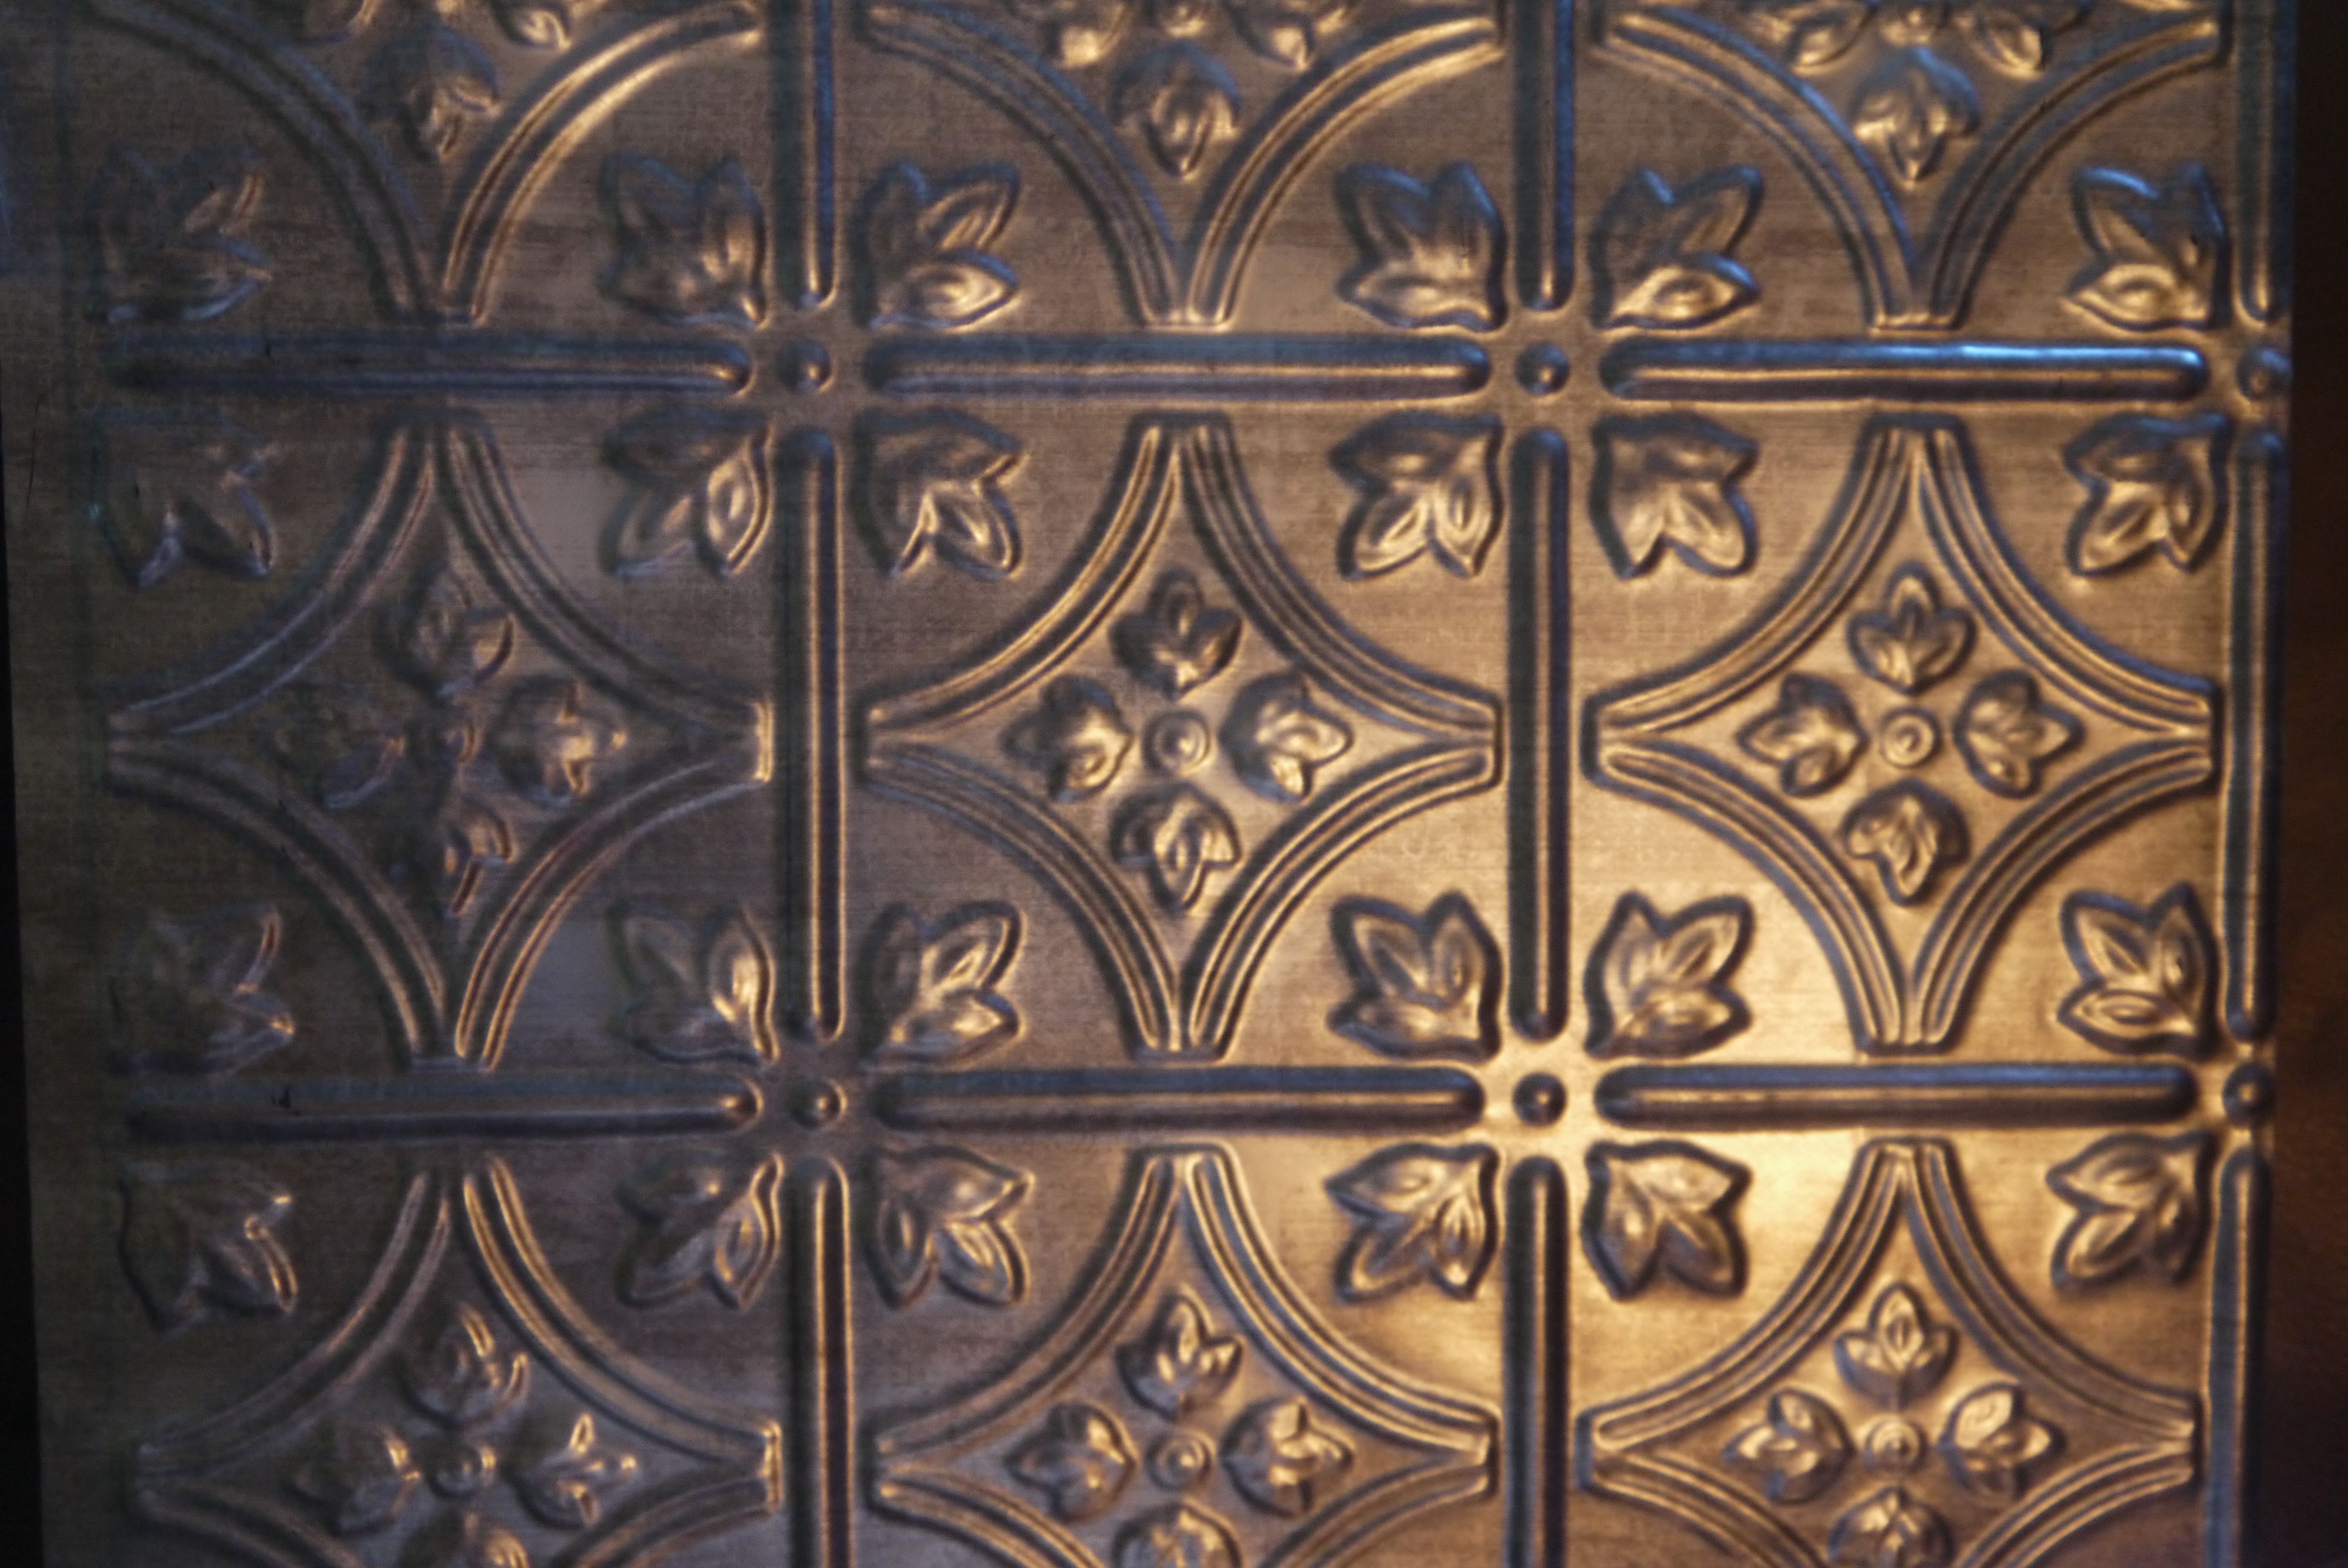
 On a side note, I have nine original tin panels on my bedroom wall thanks to Ebay. They’re quite gorgeous (if you can overlook the toxic lead paint) But, I bought mine pre-cut. I would imagine that cutting the original tin panels would be a pain (sharp corner alert! Accident waiting to happen!!). When we redid our utility room we used these tiles as a backsplash. Super easy to install (so easy, even Don could do it). You literally cut them to size with regular scissors and glue them on to the wall.
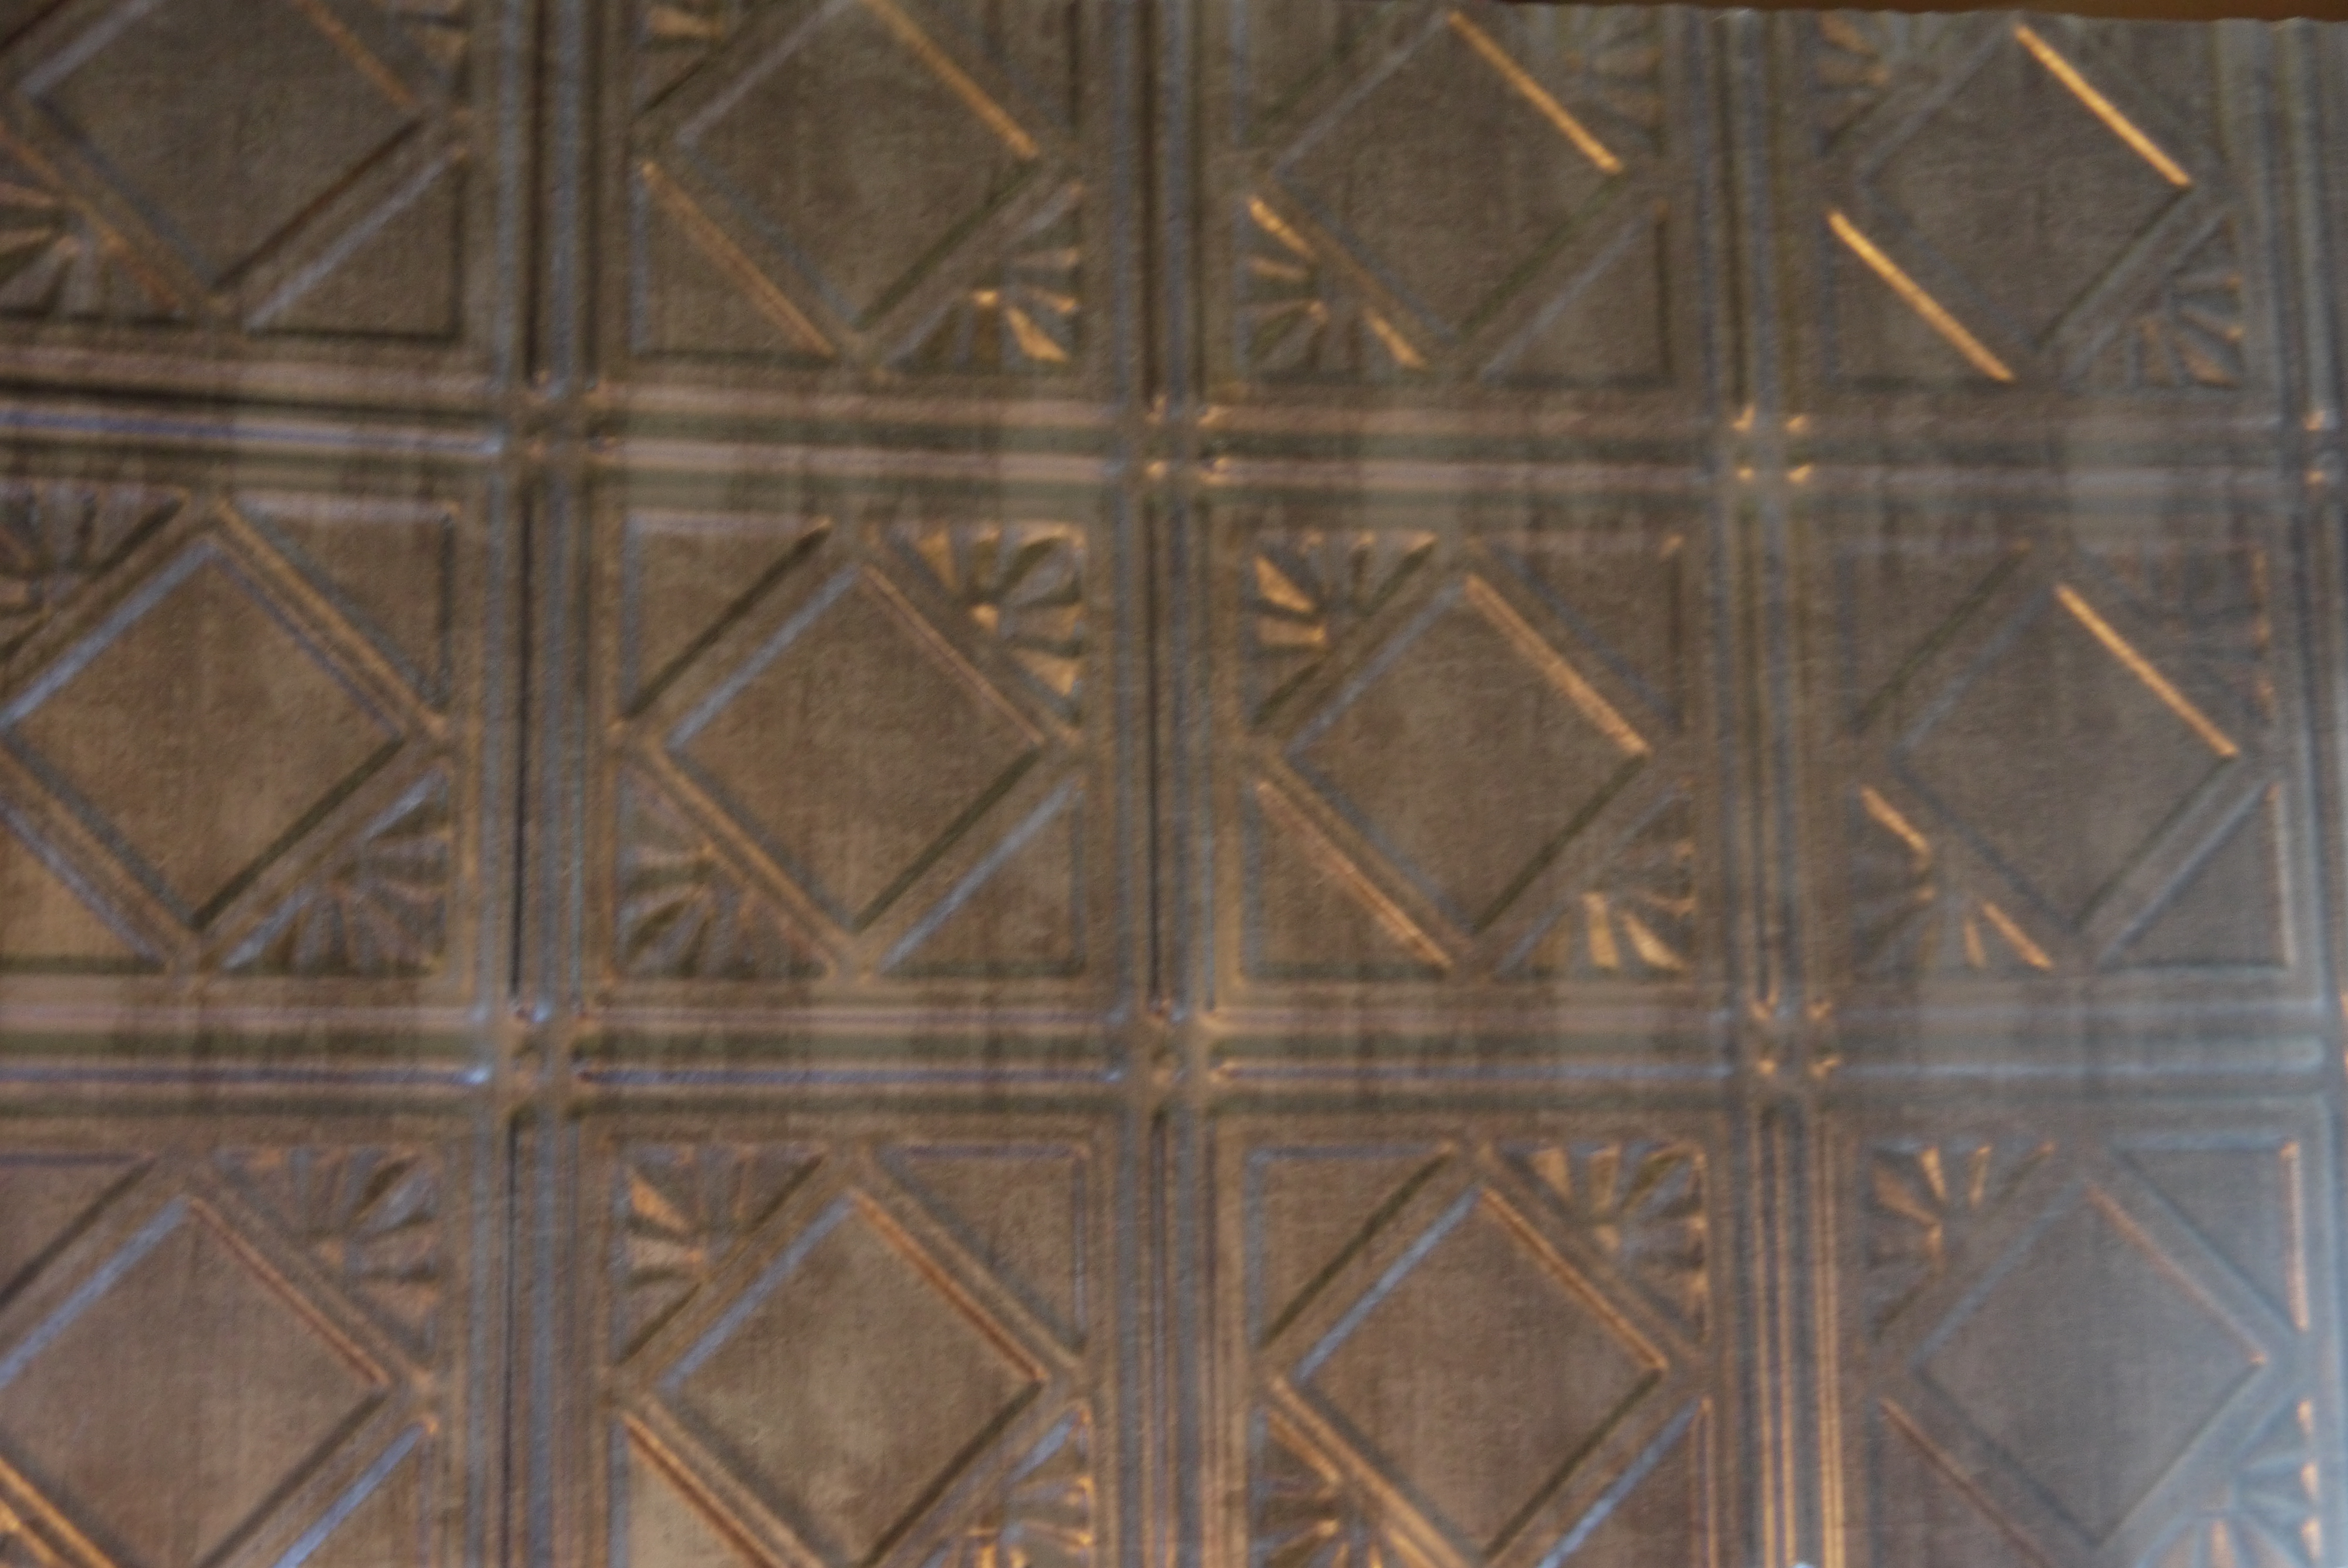
I found the same panels at Salvation Army. “Cheap as chips” $4.99 for five panels. It was one of the purchases that I had no idea what I was going to do with. There were five panels in total, comprising of two different patterns. It was a case of: I like them, don’t know what I’m going to do with them, but I really LOVE the price.
Yesterday – in a moment of complete and utter genius – I figured that I could put the screen and panels together.  Duh! Easy peasy. And it really was. Because the screen already had grooves in the side, the tiles literally just slotted in. Boom, boom, boom. I had to cut a few inches off each side, but that was it. I just eyeballed everything. Who needs a ruler? I laugh in the face of rulers.
Once I’d figured out how I wanted the tiles to look (again, just remember that I had different patterns), I numbered them and then removed them. On to the fun stuff.
(Now, here’s the thing: I only had enough tiles to cover three of the four panels. Bugger, right? What I think I’m going to do is cover the fourth panel with burlap. During staging, I can use that section to hang things on. It may sound odd – right now – but just wait…I think it will work out. And guess what? if it doesn’t and it looks stupid. I just won’t tell you. That’s the beauty of a blog: it’s mostly smoke and mirrors).
I knew that I wanted to do a rust/paint finish on the tiles. The tiles came with a shiny tin finish. I think most people paint them (at least we did in our utility room). This time I wanted a more ‘used/vintage – y’ vibe. Plus, I had mismatched patterns, so ‘used/vintage-y works’.
First step. Buy some of this incredible stuff: Modern Masters Iron Paint.
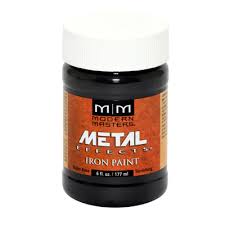
I absolutely love this stuff! Modern Masters recently changed the formula. It used to be really stinky – like pee-uh! And the iron used to always sink to the bottom. This year, my ‘contact’ (I use the term ‘contact’ because it makes me sound like I have an ‘in’ at Modern Masters. I don’t.) told me that yes, indeed it was a new formula. So much better, not so stinky.
Because I was working with a non-wood surface I didn’t need to block the surface. If you’re going to do this on wood, you need to prime the surface with MM blocker, otherwise the iron will eventually eat through at the wood. And you don’t want that. It’s an easy step though. Just paint, leave for 24 hours and then you can use the iron paint.
You could easily just paint the entire surface of the tin panel with the iron paint. I 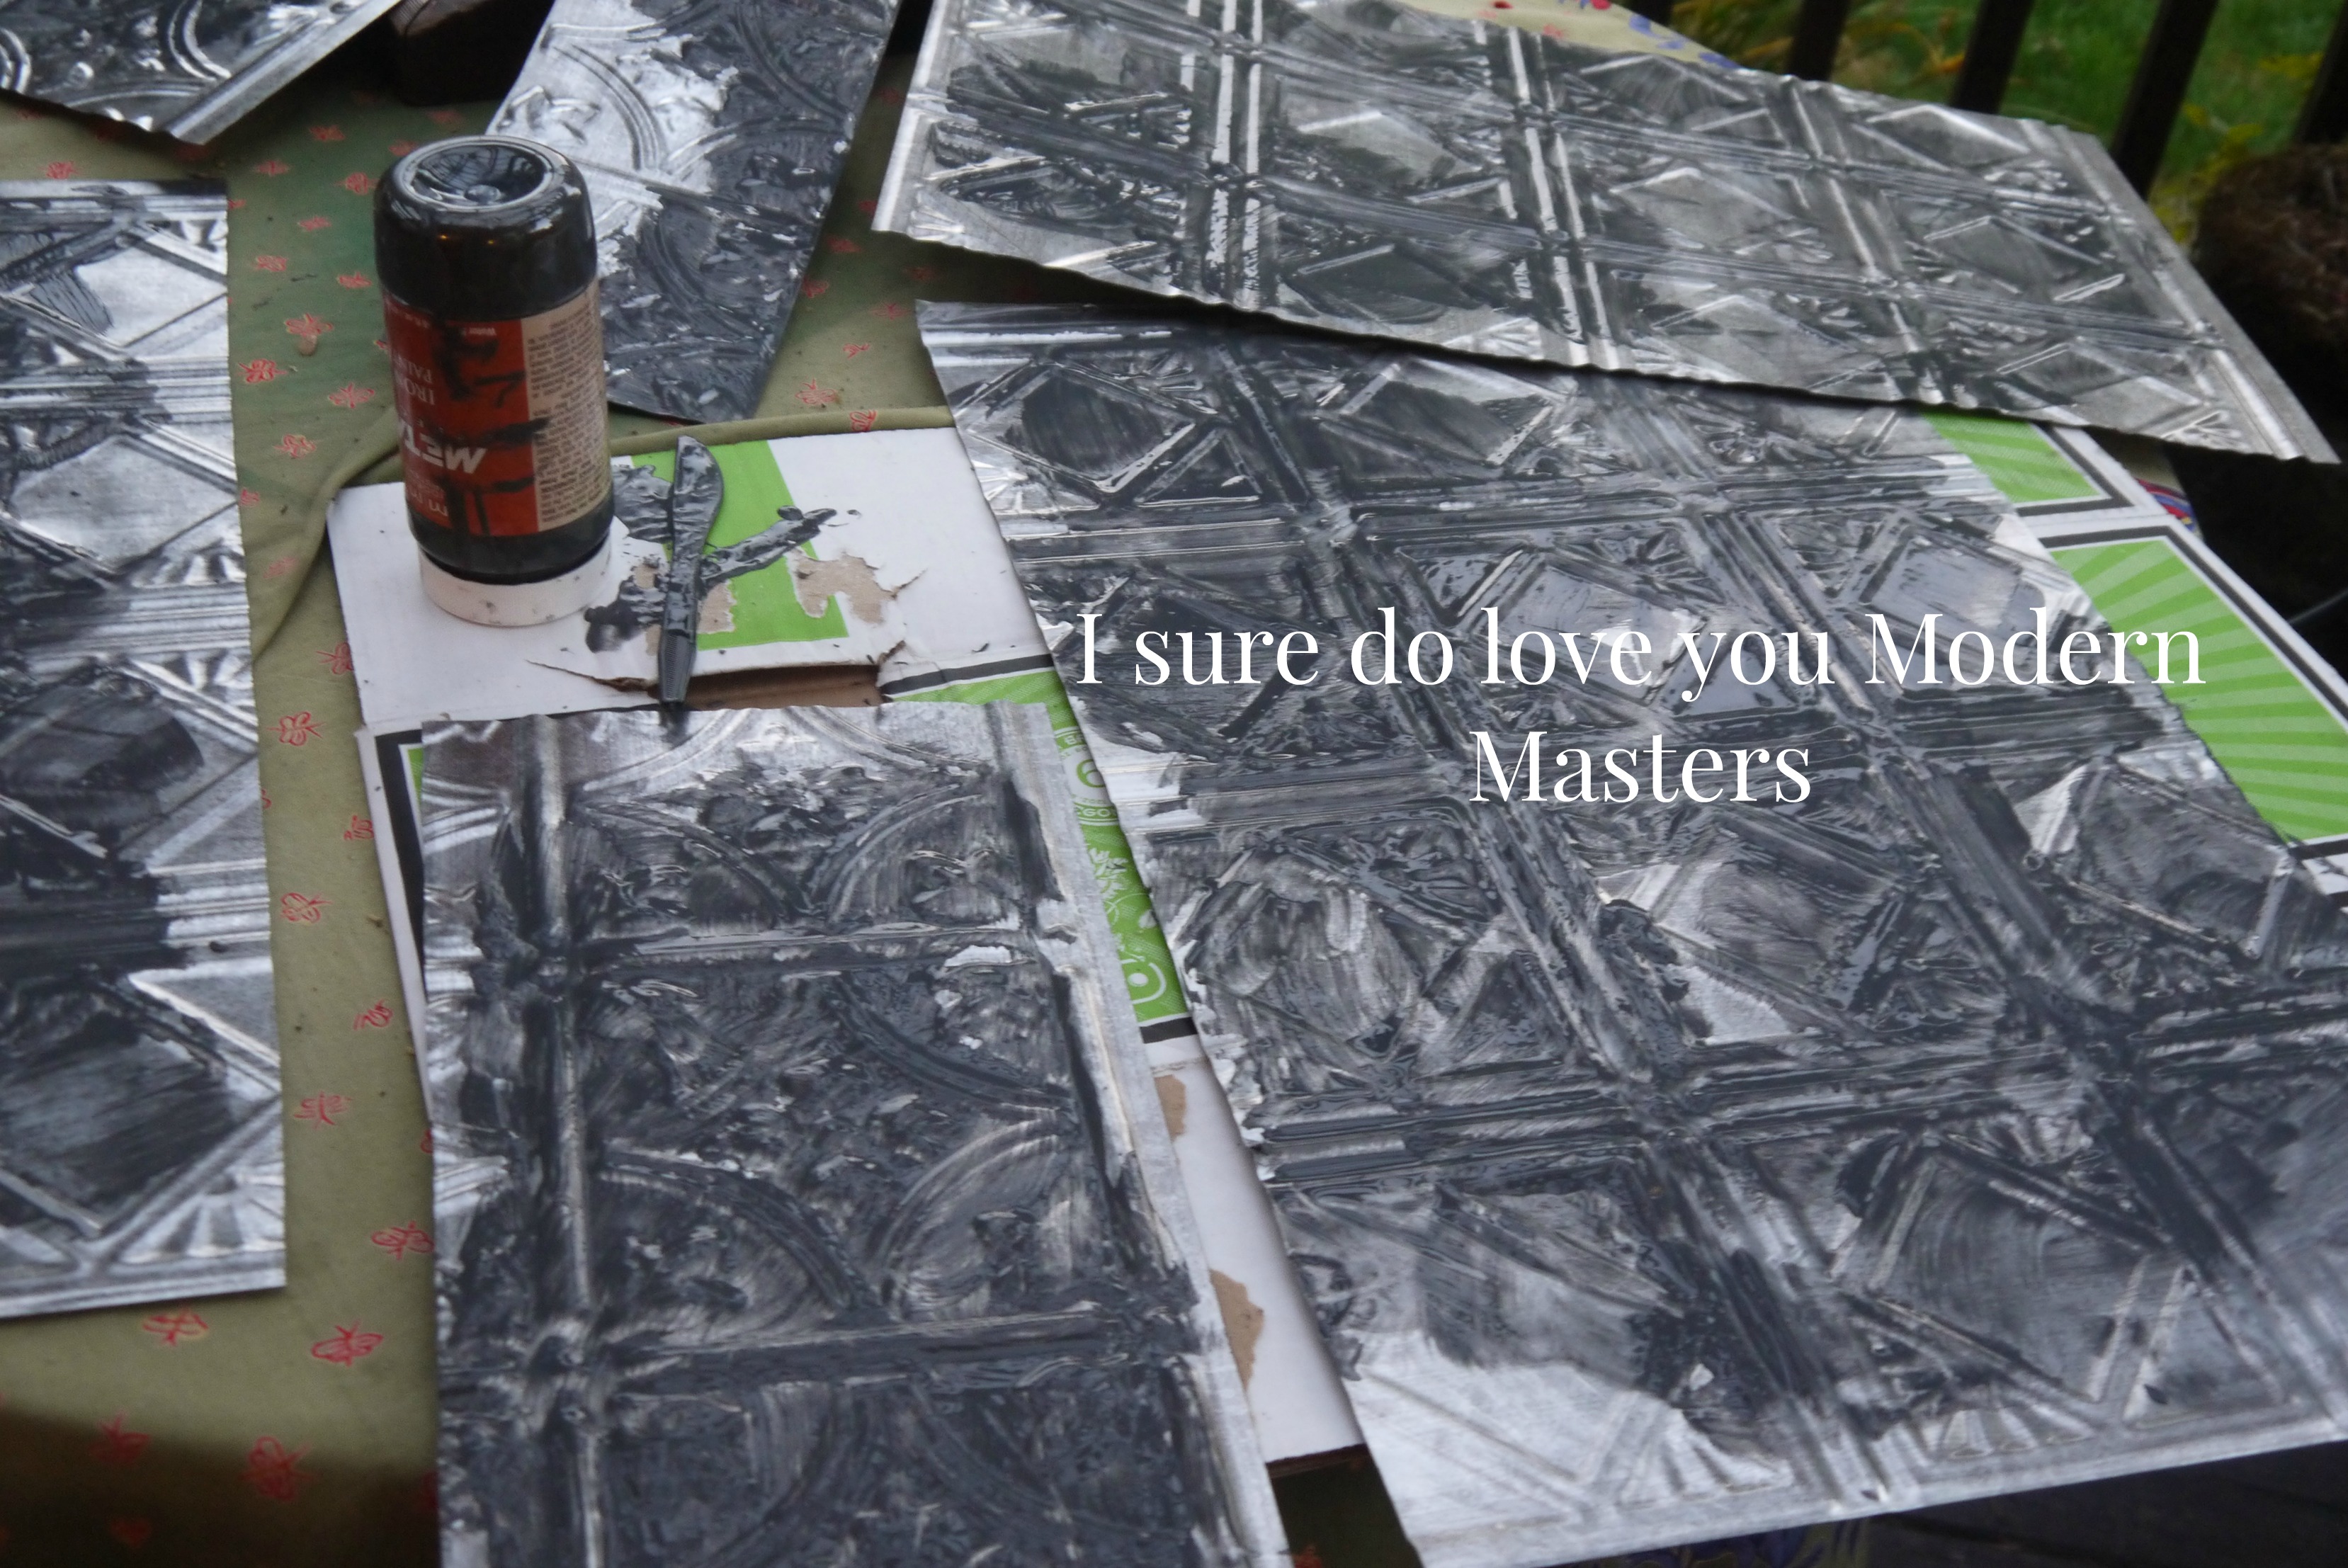 knew I wanted to use Annie Sloan Chalk Paint on some of it, so I just painted the iron in patches. You need to do two coats, let the first one completely dry before putting on the second).
 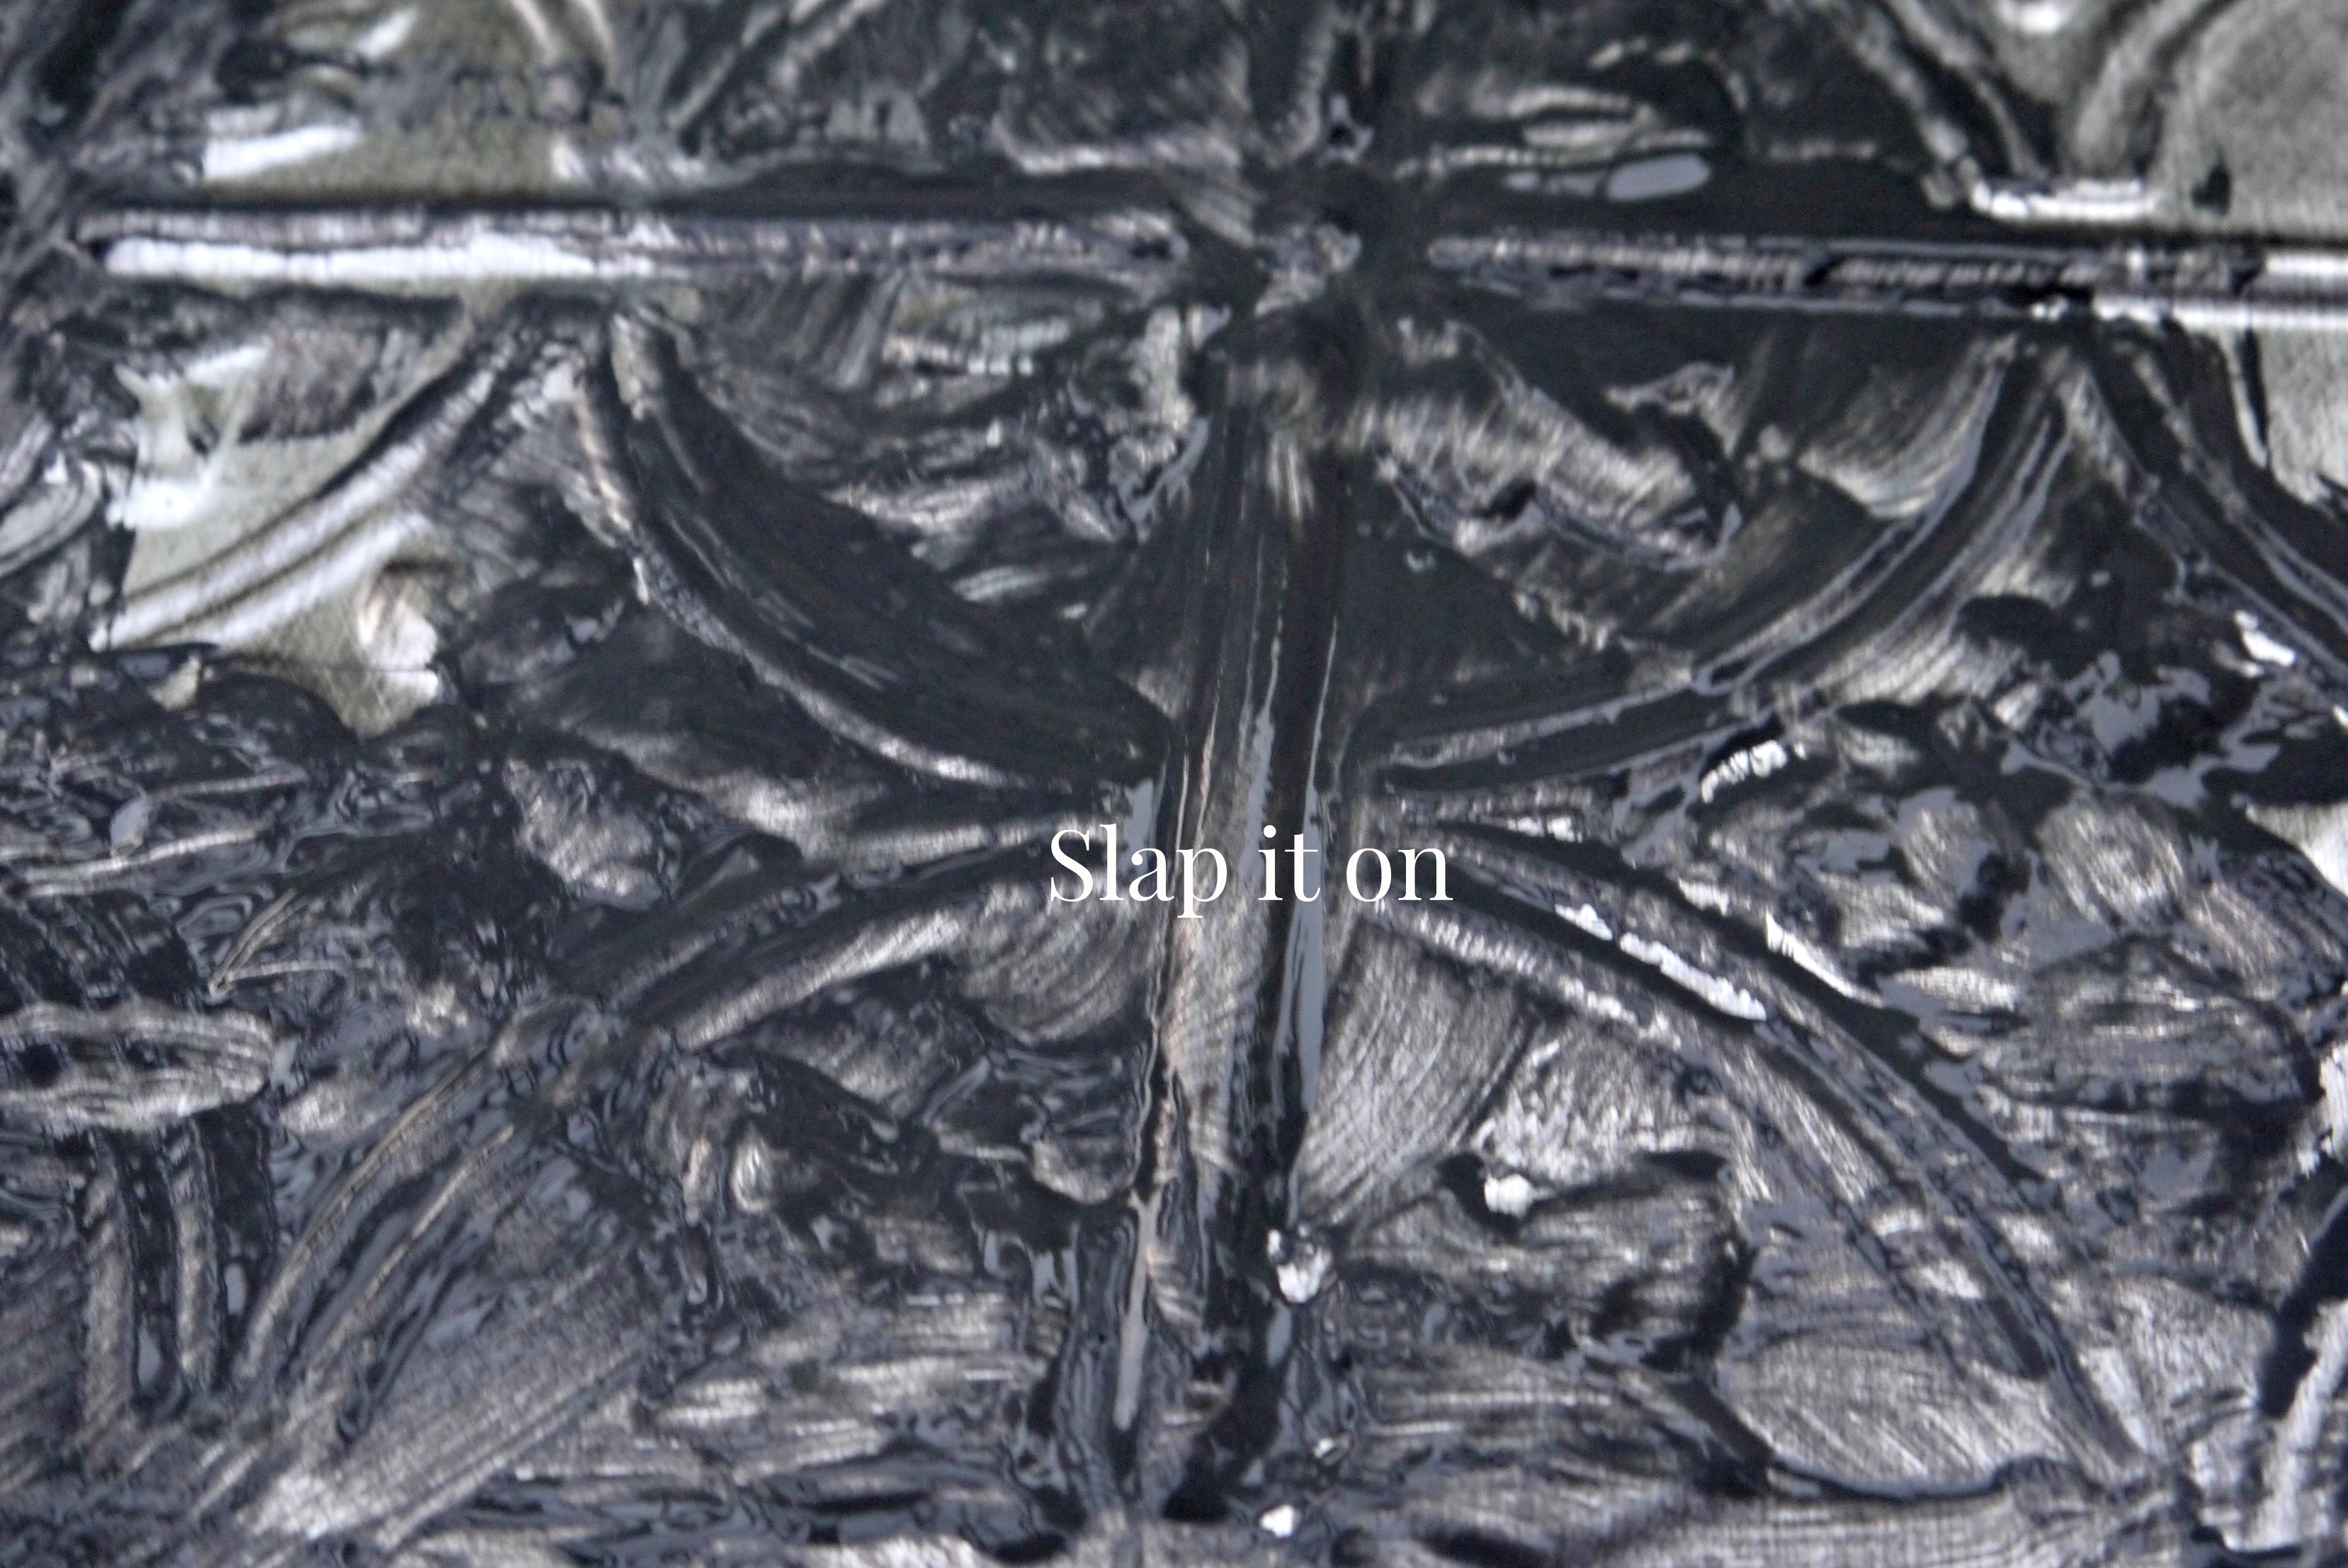 Literally, you can just slap it on. I’ve found for the rust finish, it actually works better if you have varying thicknesses of the iron paint. Once the iron paint is dry, then it’s time to work some magic. Modern Masters Rust Activator is amazeballs
 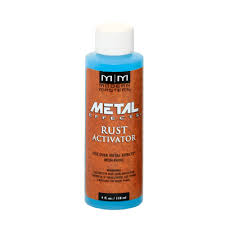 .
.
You can brush it on, and for some reason, I’ve found that if I pour it into the tiny cap I can pour it on, in small measures. Then I move the piece around, so that the activator finds the route of least resistance.
It really is like watching magic happen .
 Wait – and see if you like the results. If you don’t, you can go back and reapply the activator. I usually do it two or three times. I like rust, what can I tell you.
This is the beginning of the magic. When you’re happy with the result, seal it with Modern Masters Patina Sealer. 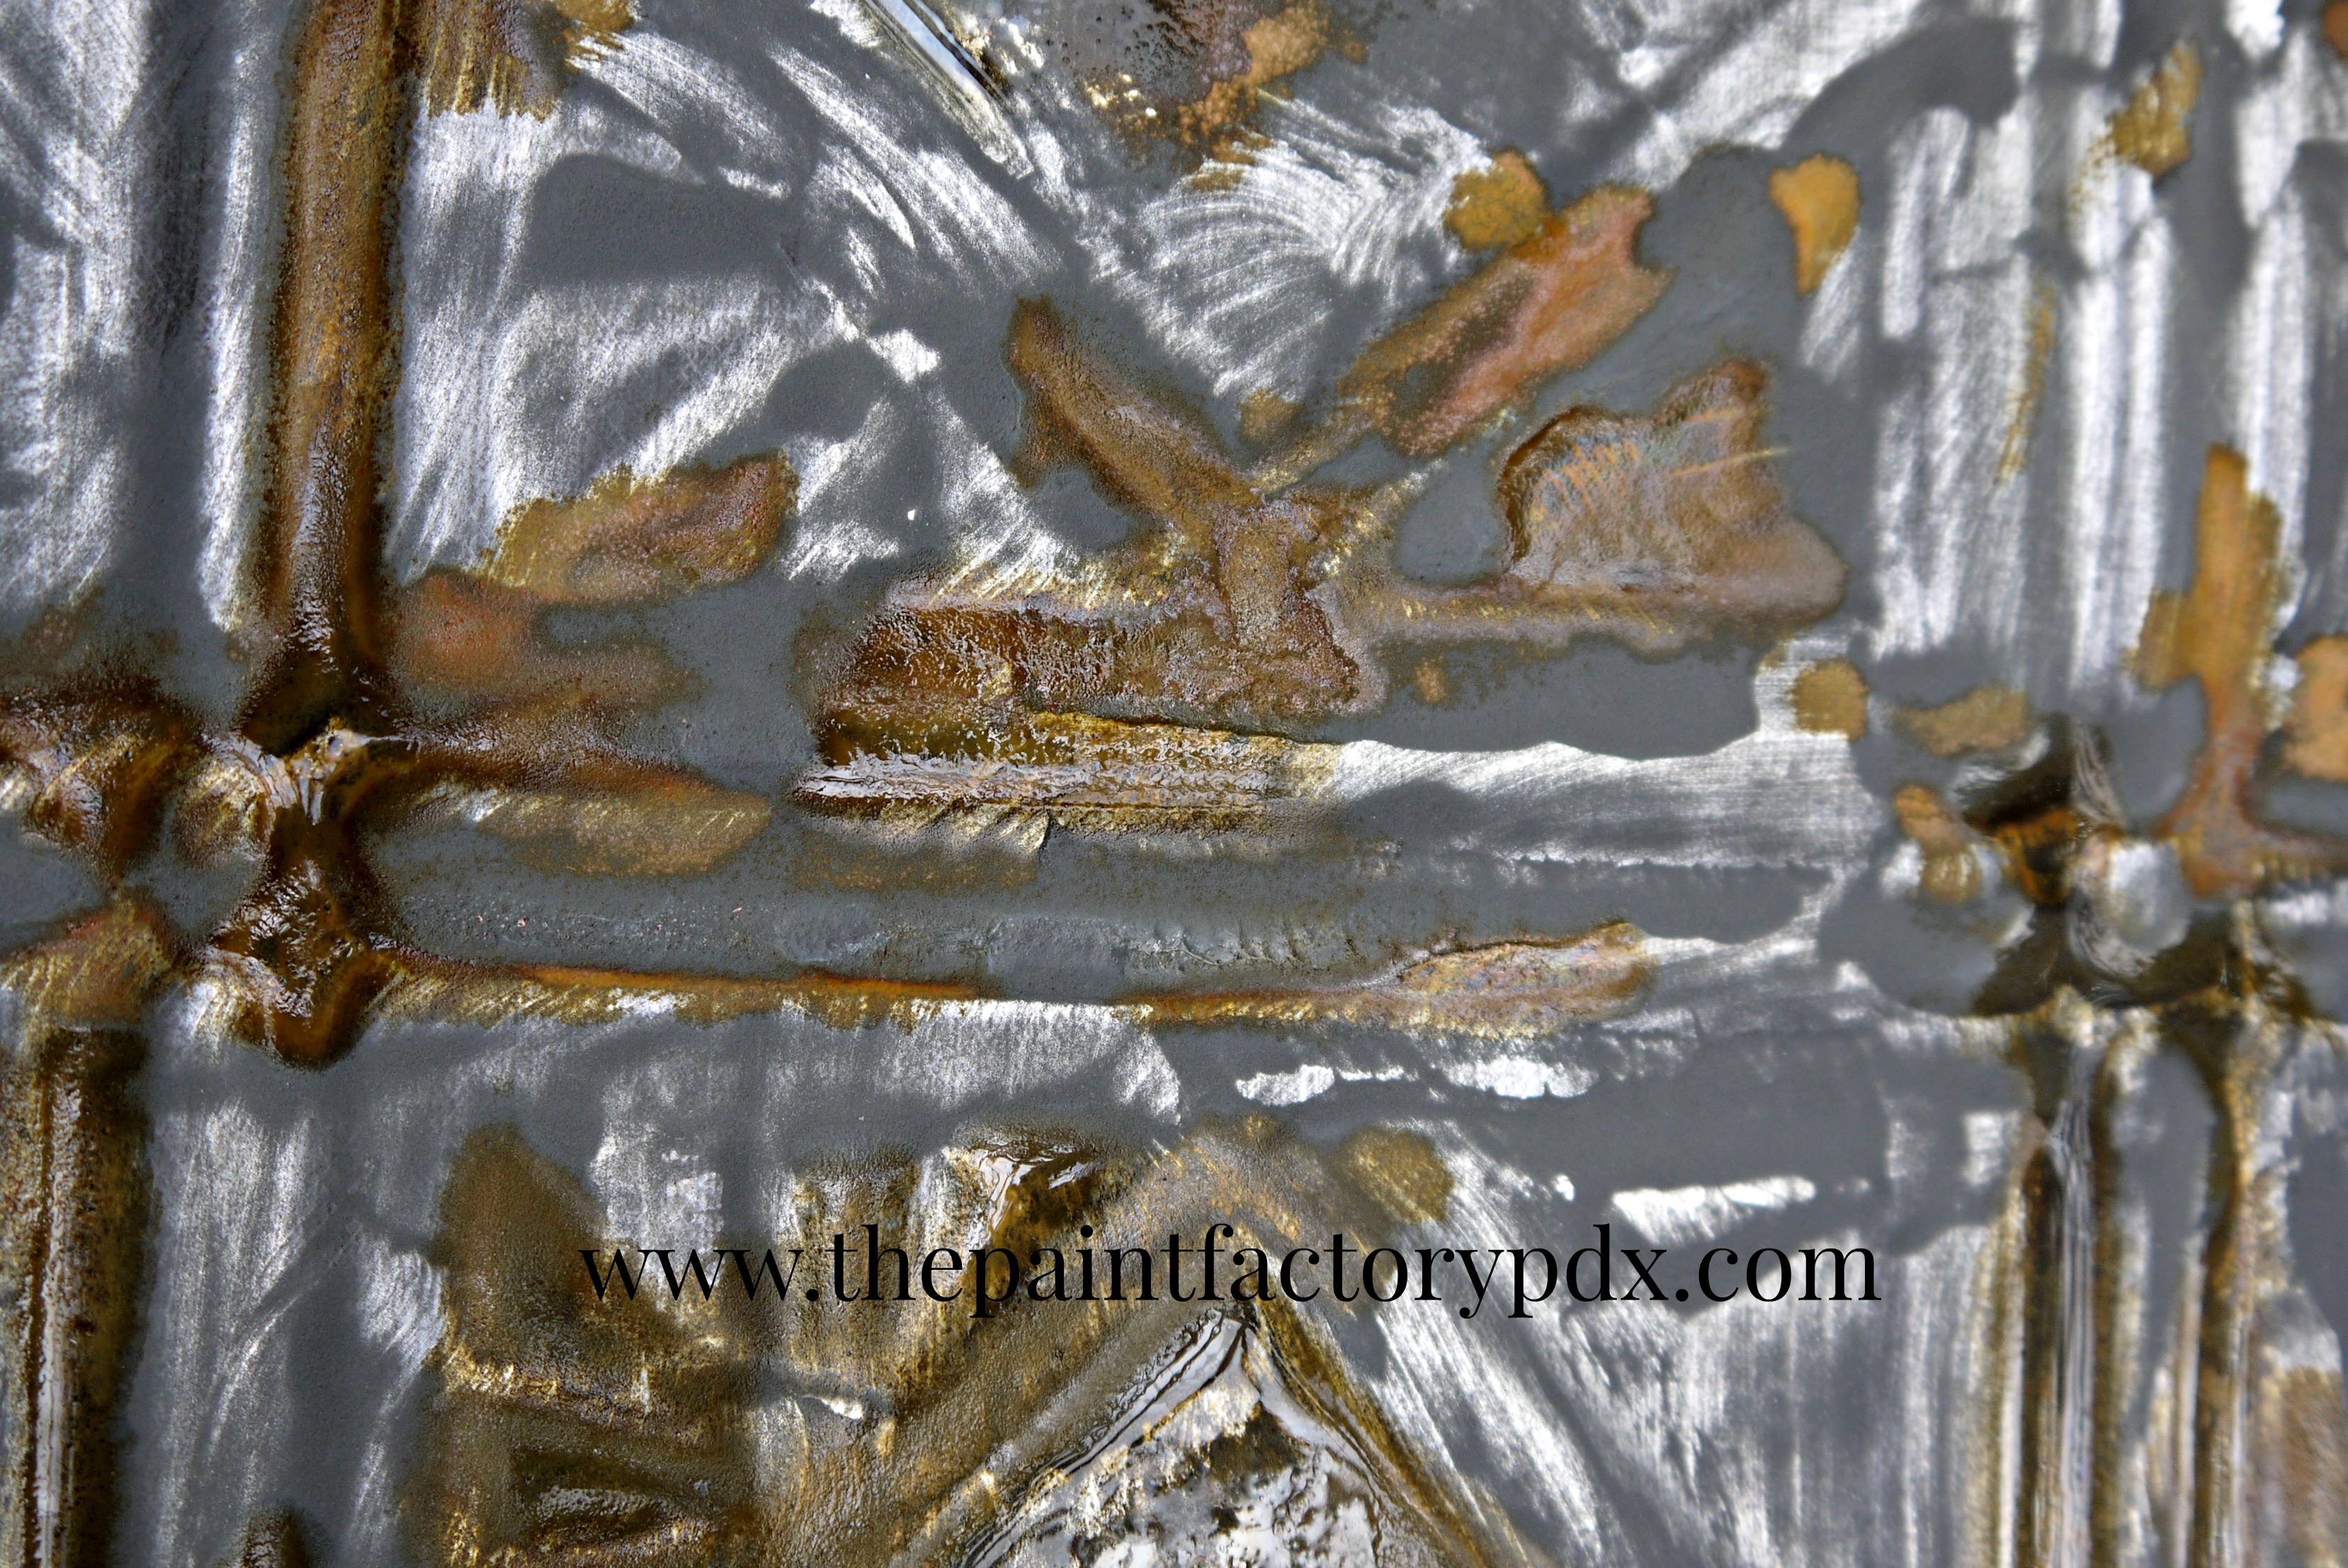
 Let dry, and that’s it! See, easy.
I wanted to get lots of different finishes. I wanted shiny iron, rusty iron, and painted. I painted with wild abandonment. There’s no rhyme or reason, just keep doing it until you like it. I knew I wanted some drybrushing. My paint color was Old White Annie Sloan chalk paint. Drybrushing is having a teeny amount of paint on your brush (I put the paint on my brush, and then paint the back of my hand to get the excess off. There should be a minute amount of paint left). Then you just very lightly go over all of the detailing. It’s amazing how such a small amount of paint can add so much focus to the piece. 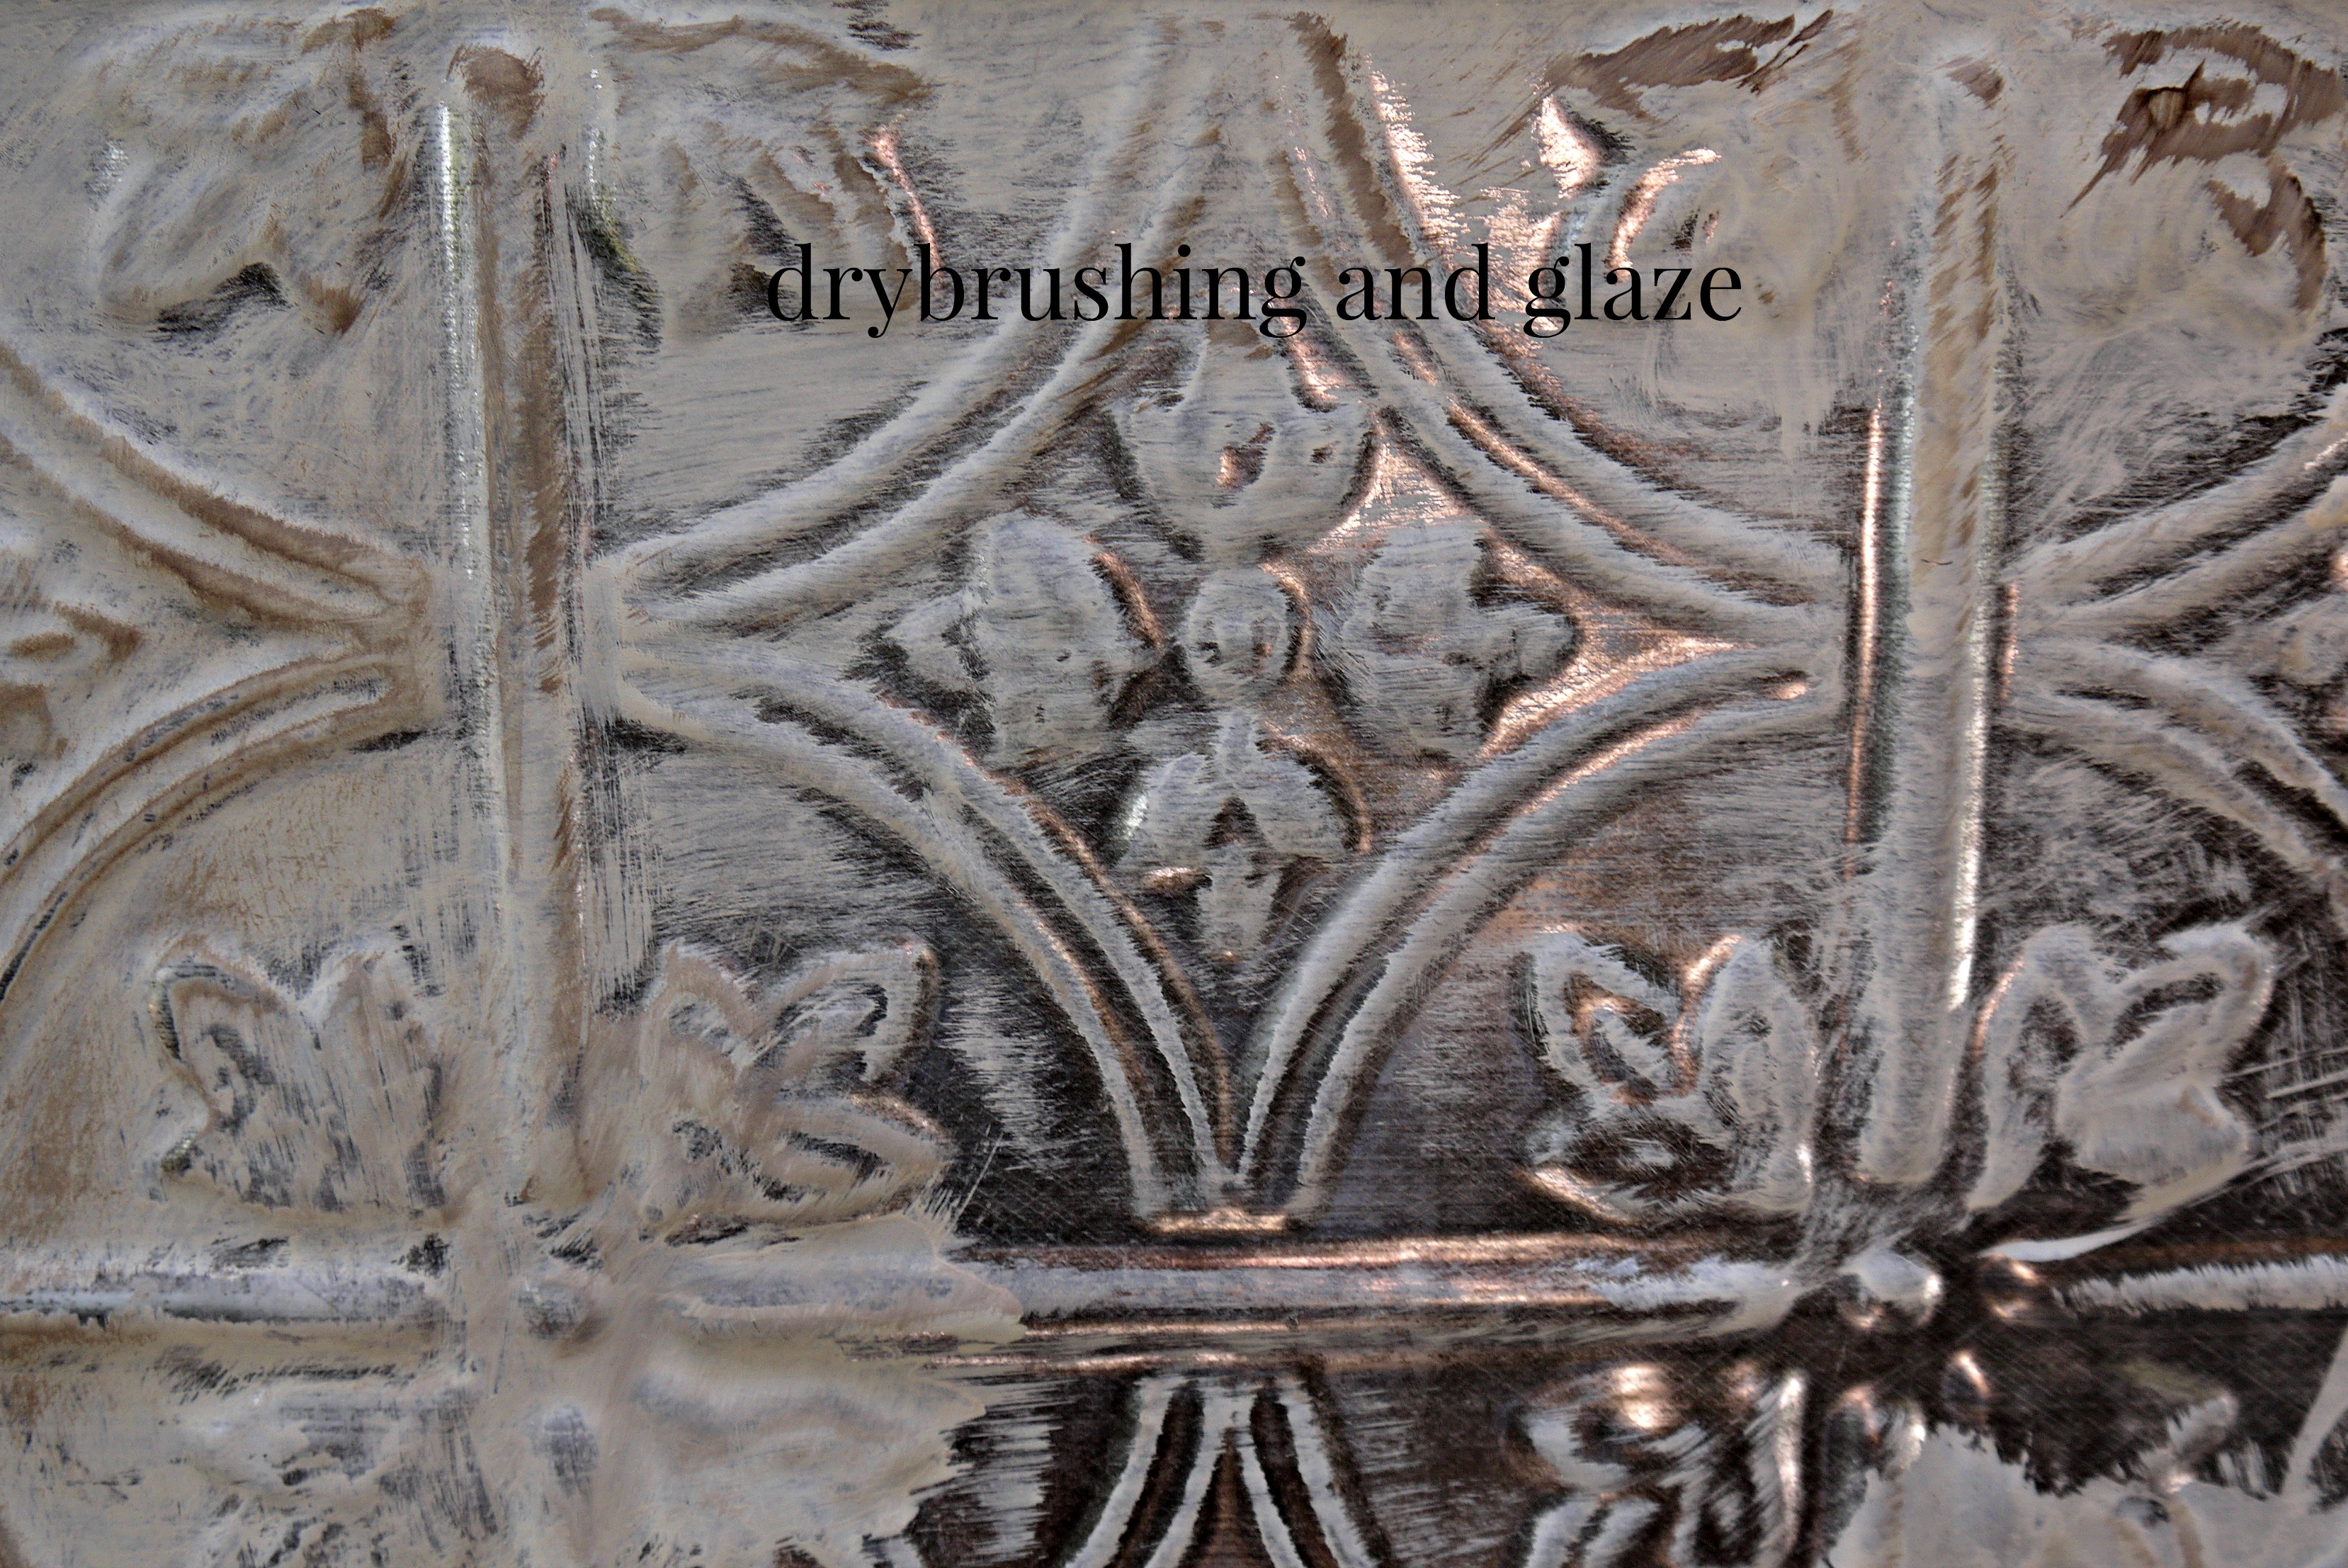
After that, I was pretty much done. The problem was it was too white, I wanted old – been round the block a few times – look. So I decided that probably General Finishes Van Dyke glaze would give me what I wanted. If you have never used this stuff, drop everything and run out and buy some! I’m dead serious. I wanted that old (not dirty) just a little tarnished look to the white – and I think Van Dyke did it. I brushed it on and then wiped it off with paper towel.
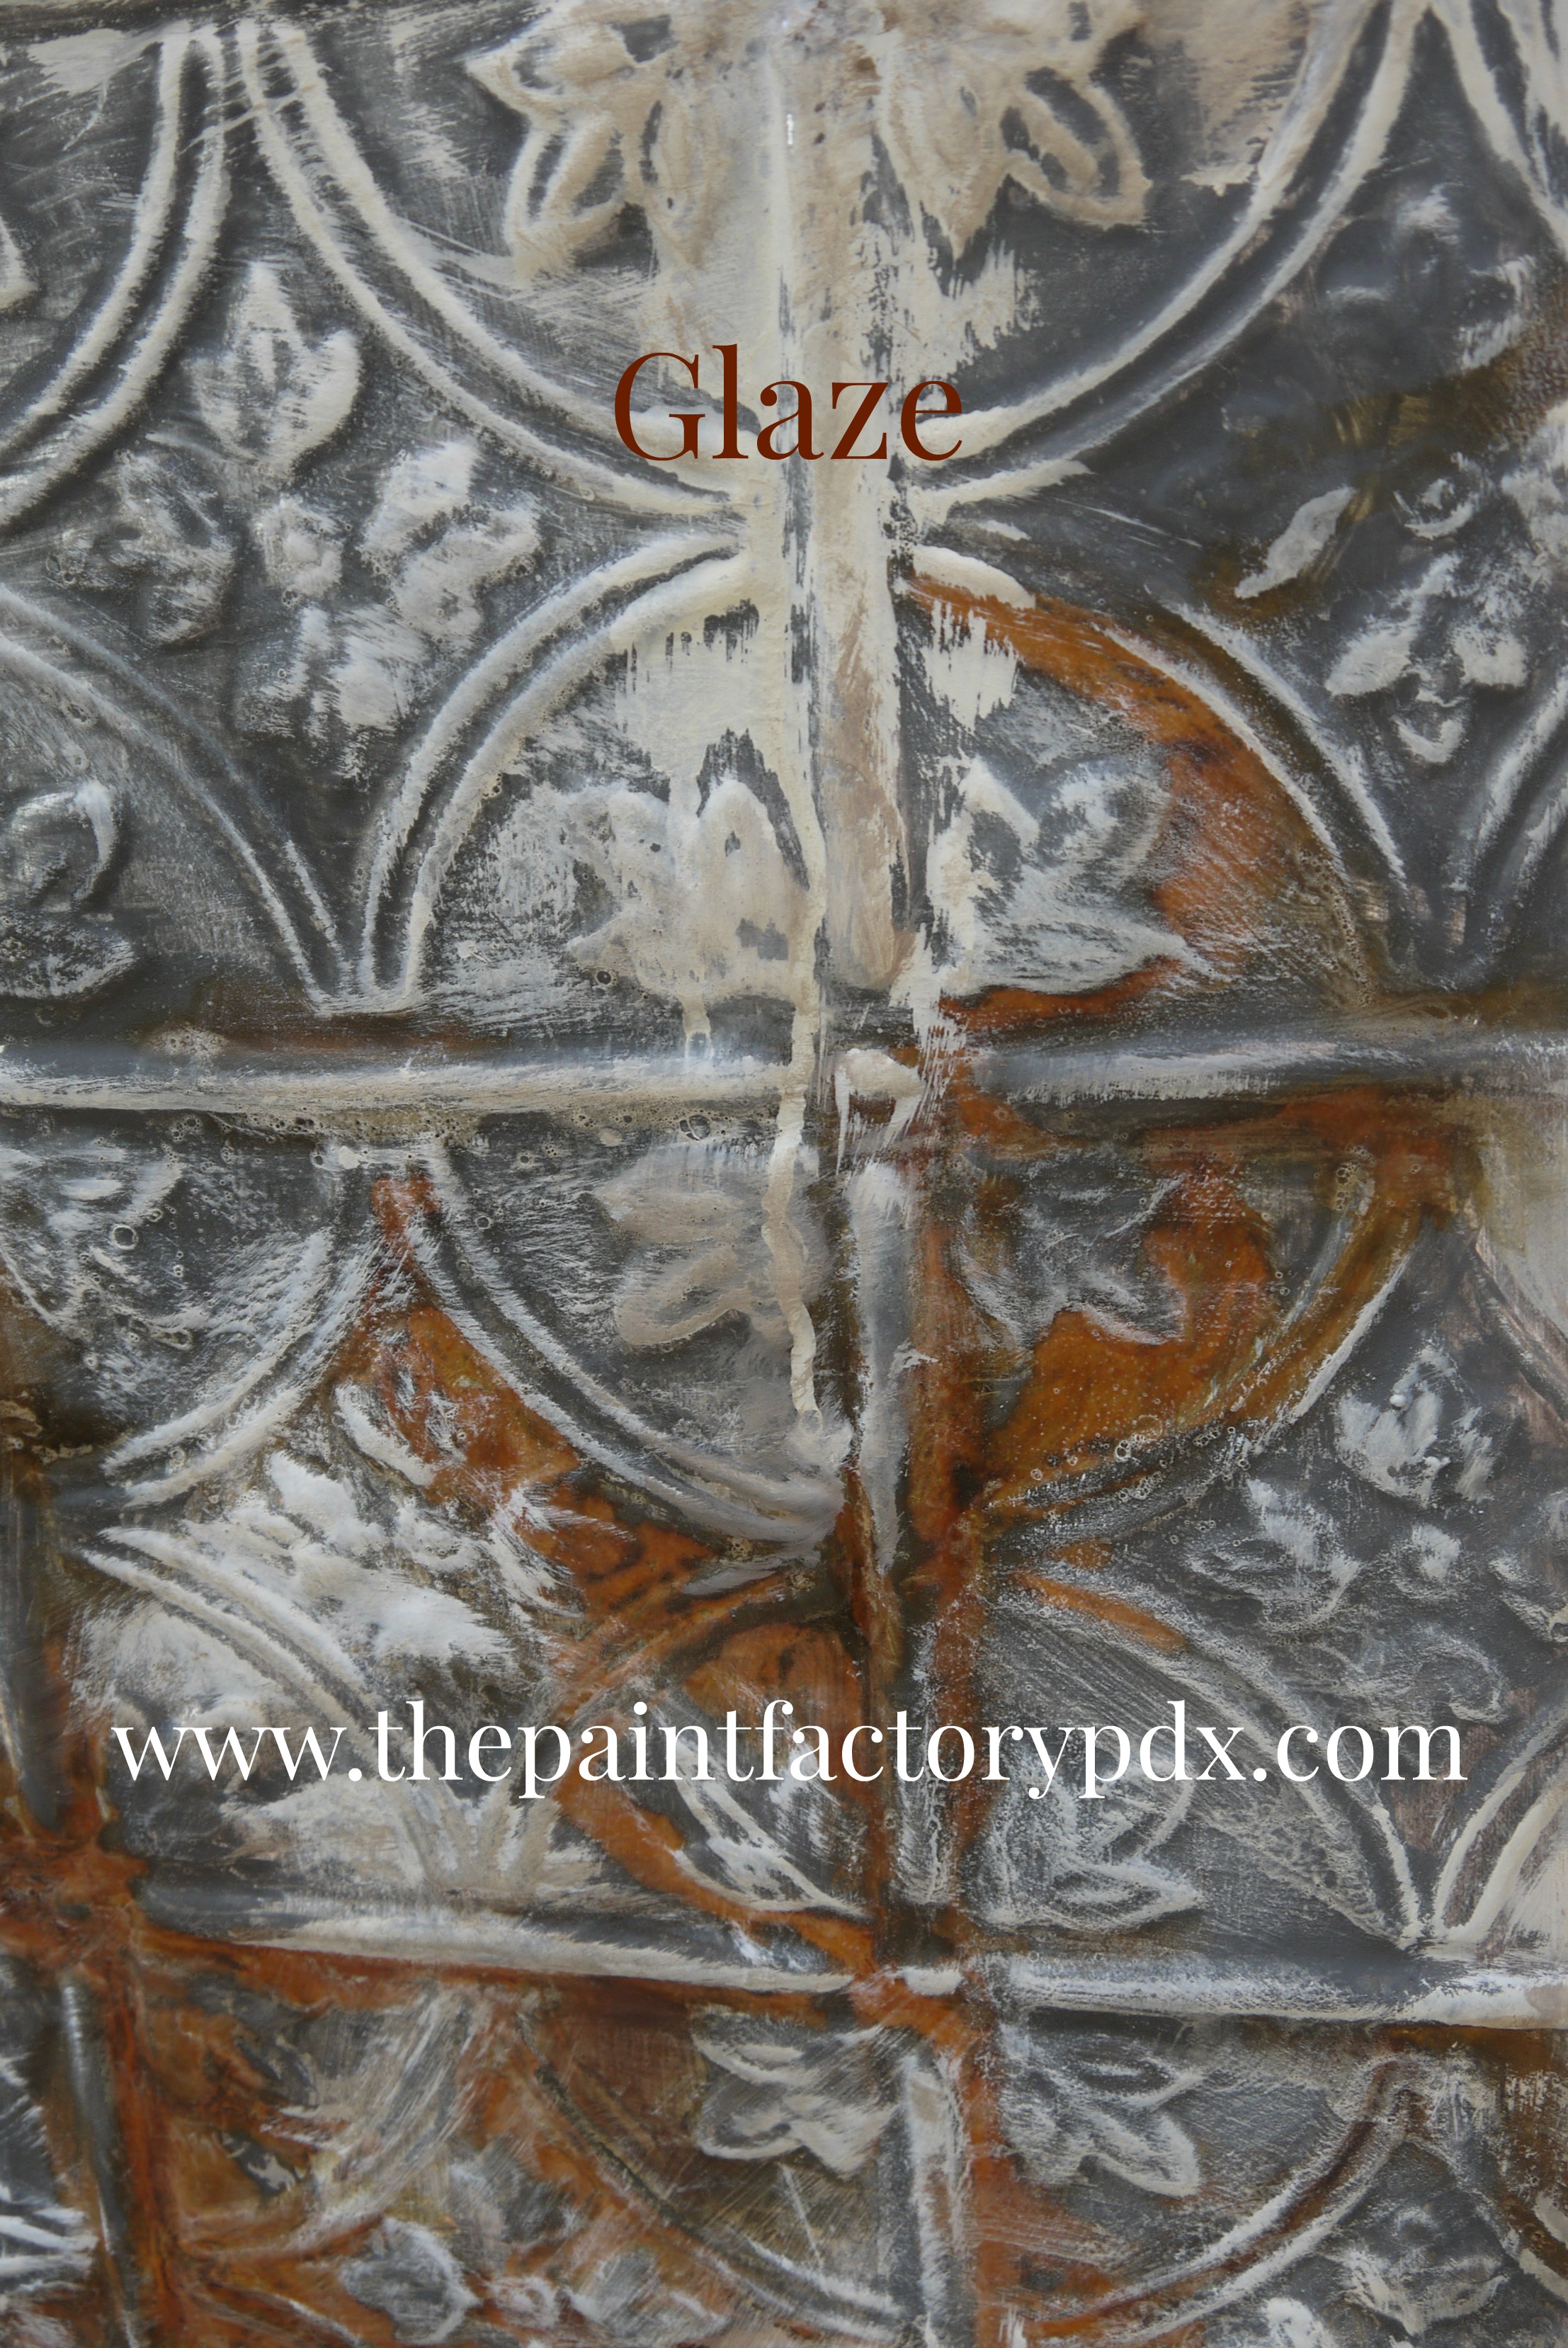
Here’s just an idea of the texture you can get with a little paint. 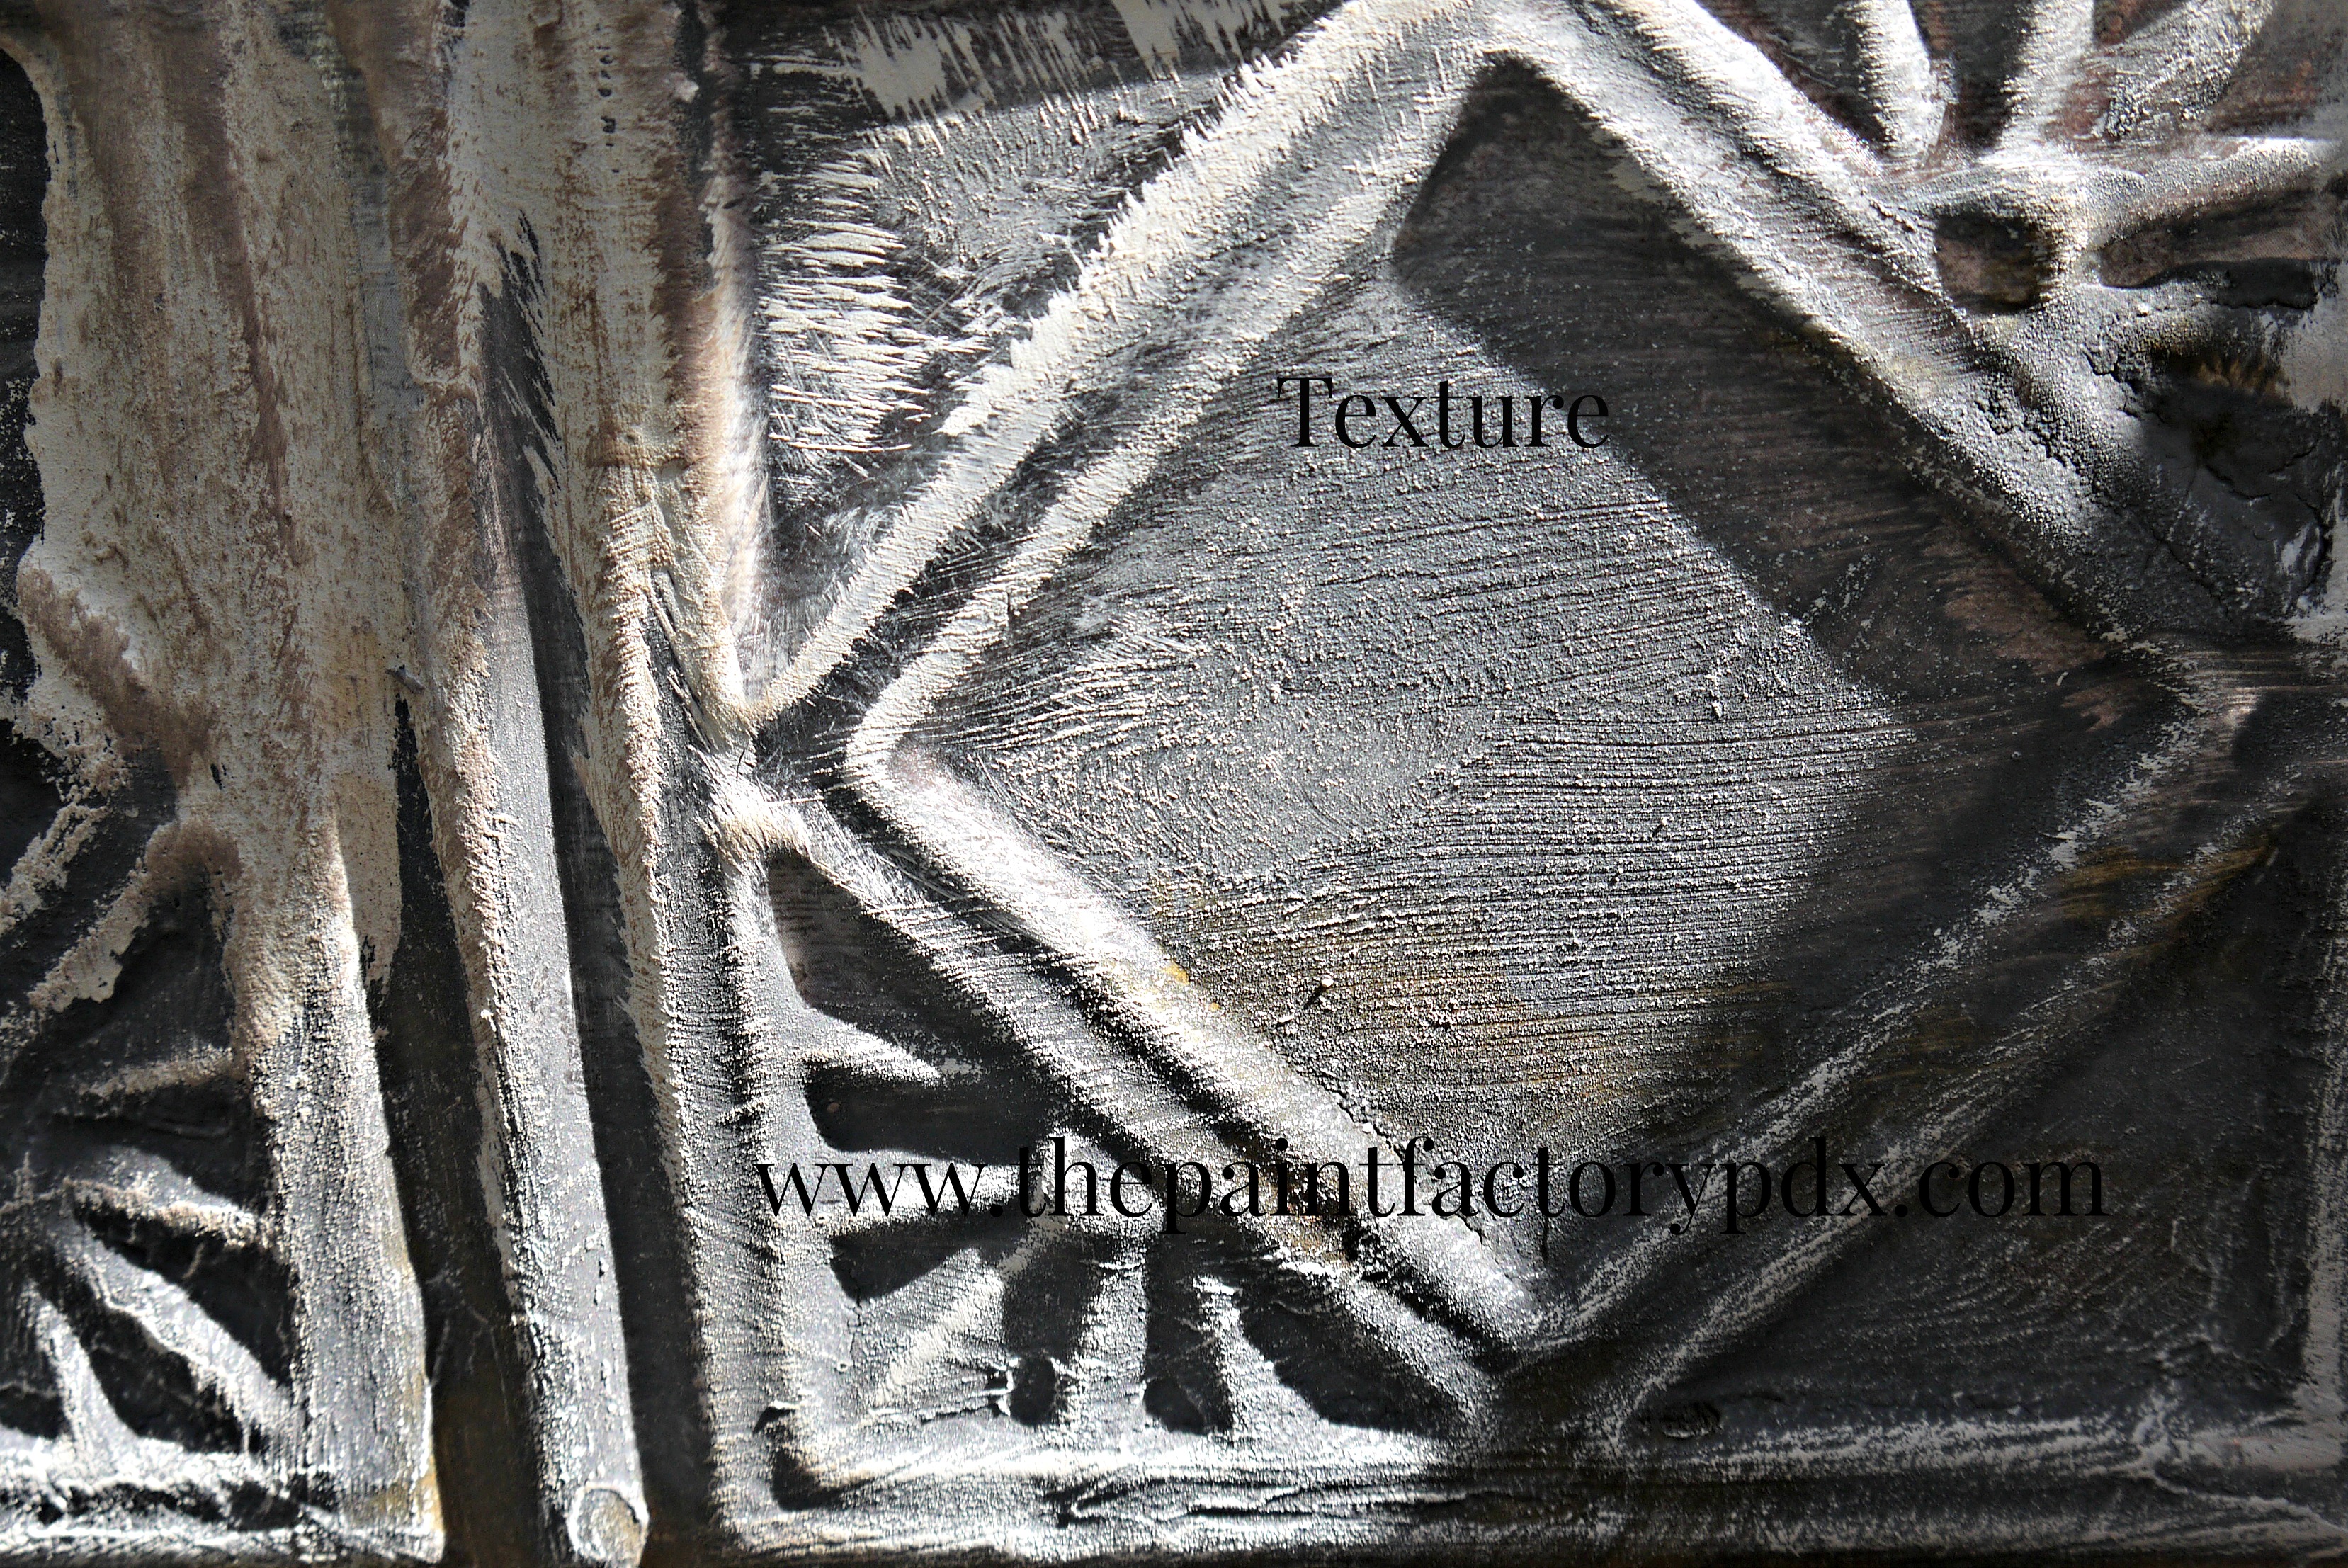
A smart amount goes a long way. And really, if you’re going for a antique look, then you can go all types of crazy with it. (At least, in my rule book).
And that, my darlings, is it. I don’t think I’ll bother putting a topcoat on it. Why bother? If I find that it gets used a lot, maybe I will. But then again, why bother? If I don’t have to work, I’m not gonna work.
So – what are you waiting for?
(insert catchy ending phrase here)
Diane aka The Paint Factory