
I’m not going to lie. It was an impulse buy.
I am prone to doing this, sometimes.
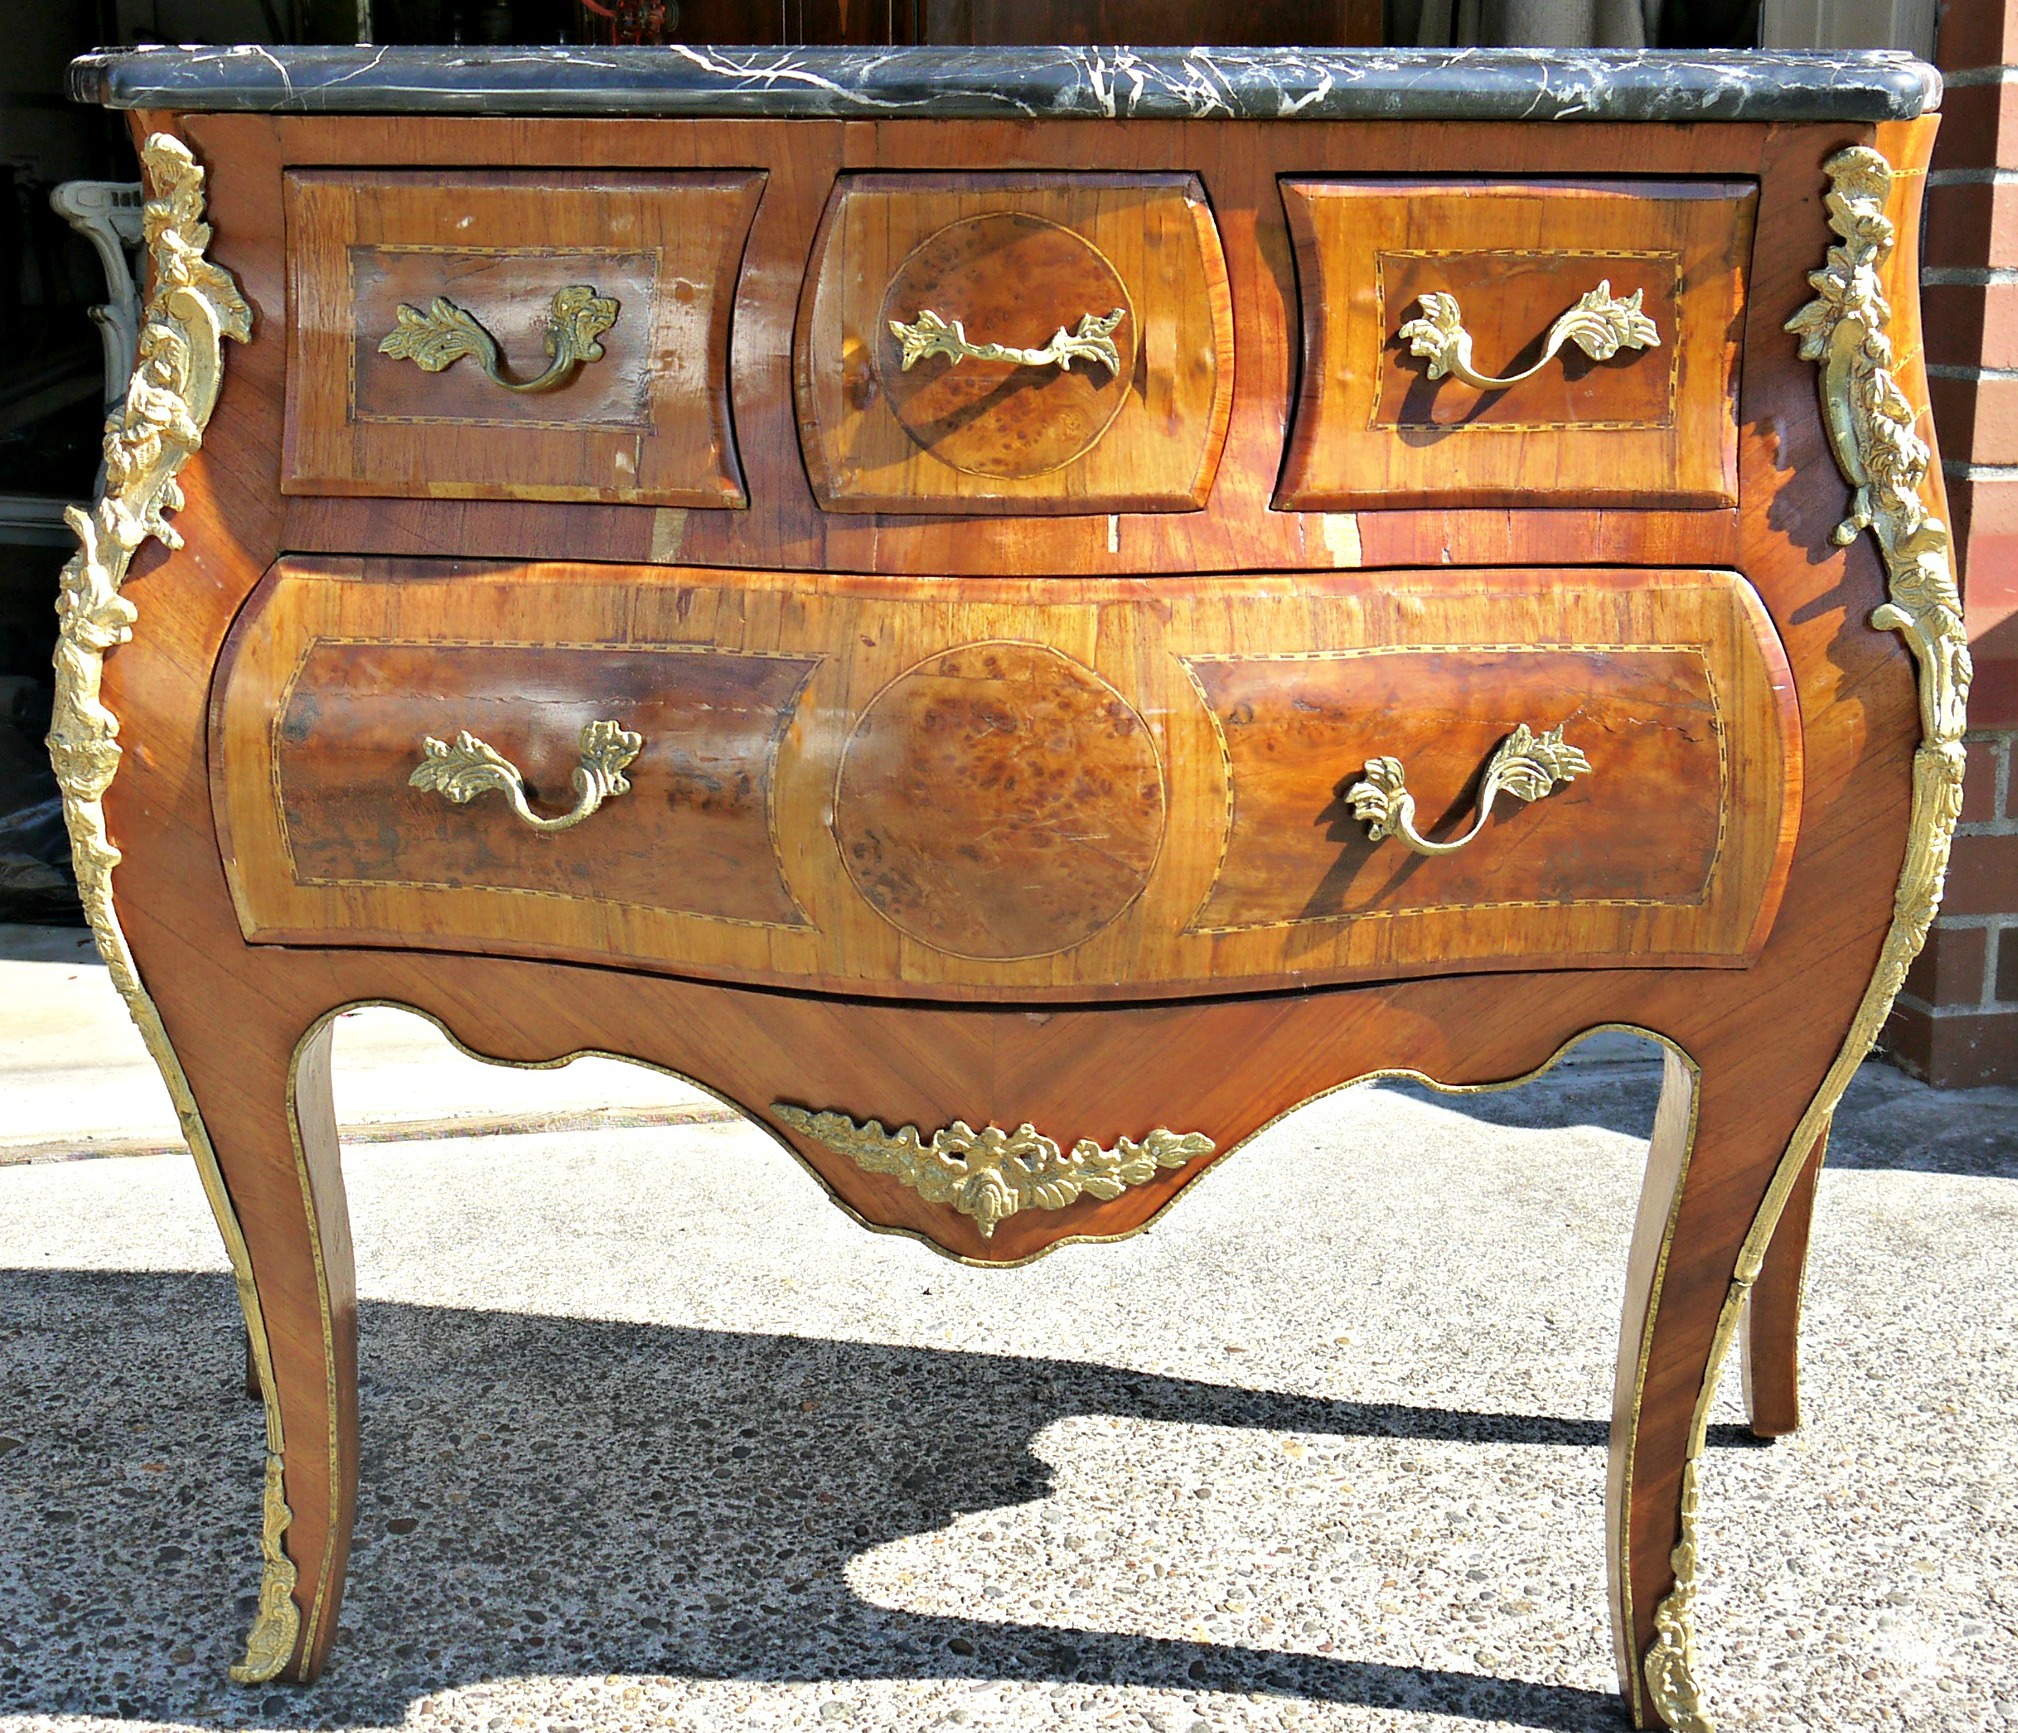
It was gaudy. It was a Repro. It had hideous bubbling veneer. And I didn’t have space for another piece of furniture.
But
The bones. Those sexy curvy lines. My self-control was powerless to those lines. And so I bought it.
And I did debate about painting it. Should I just repair it?
The ormolu brass side mounts were/are quite eye-catching.
But the flaws…Oh, don’t get me started.
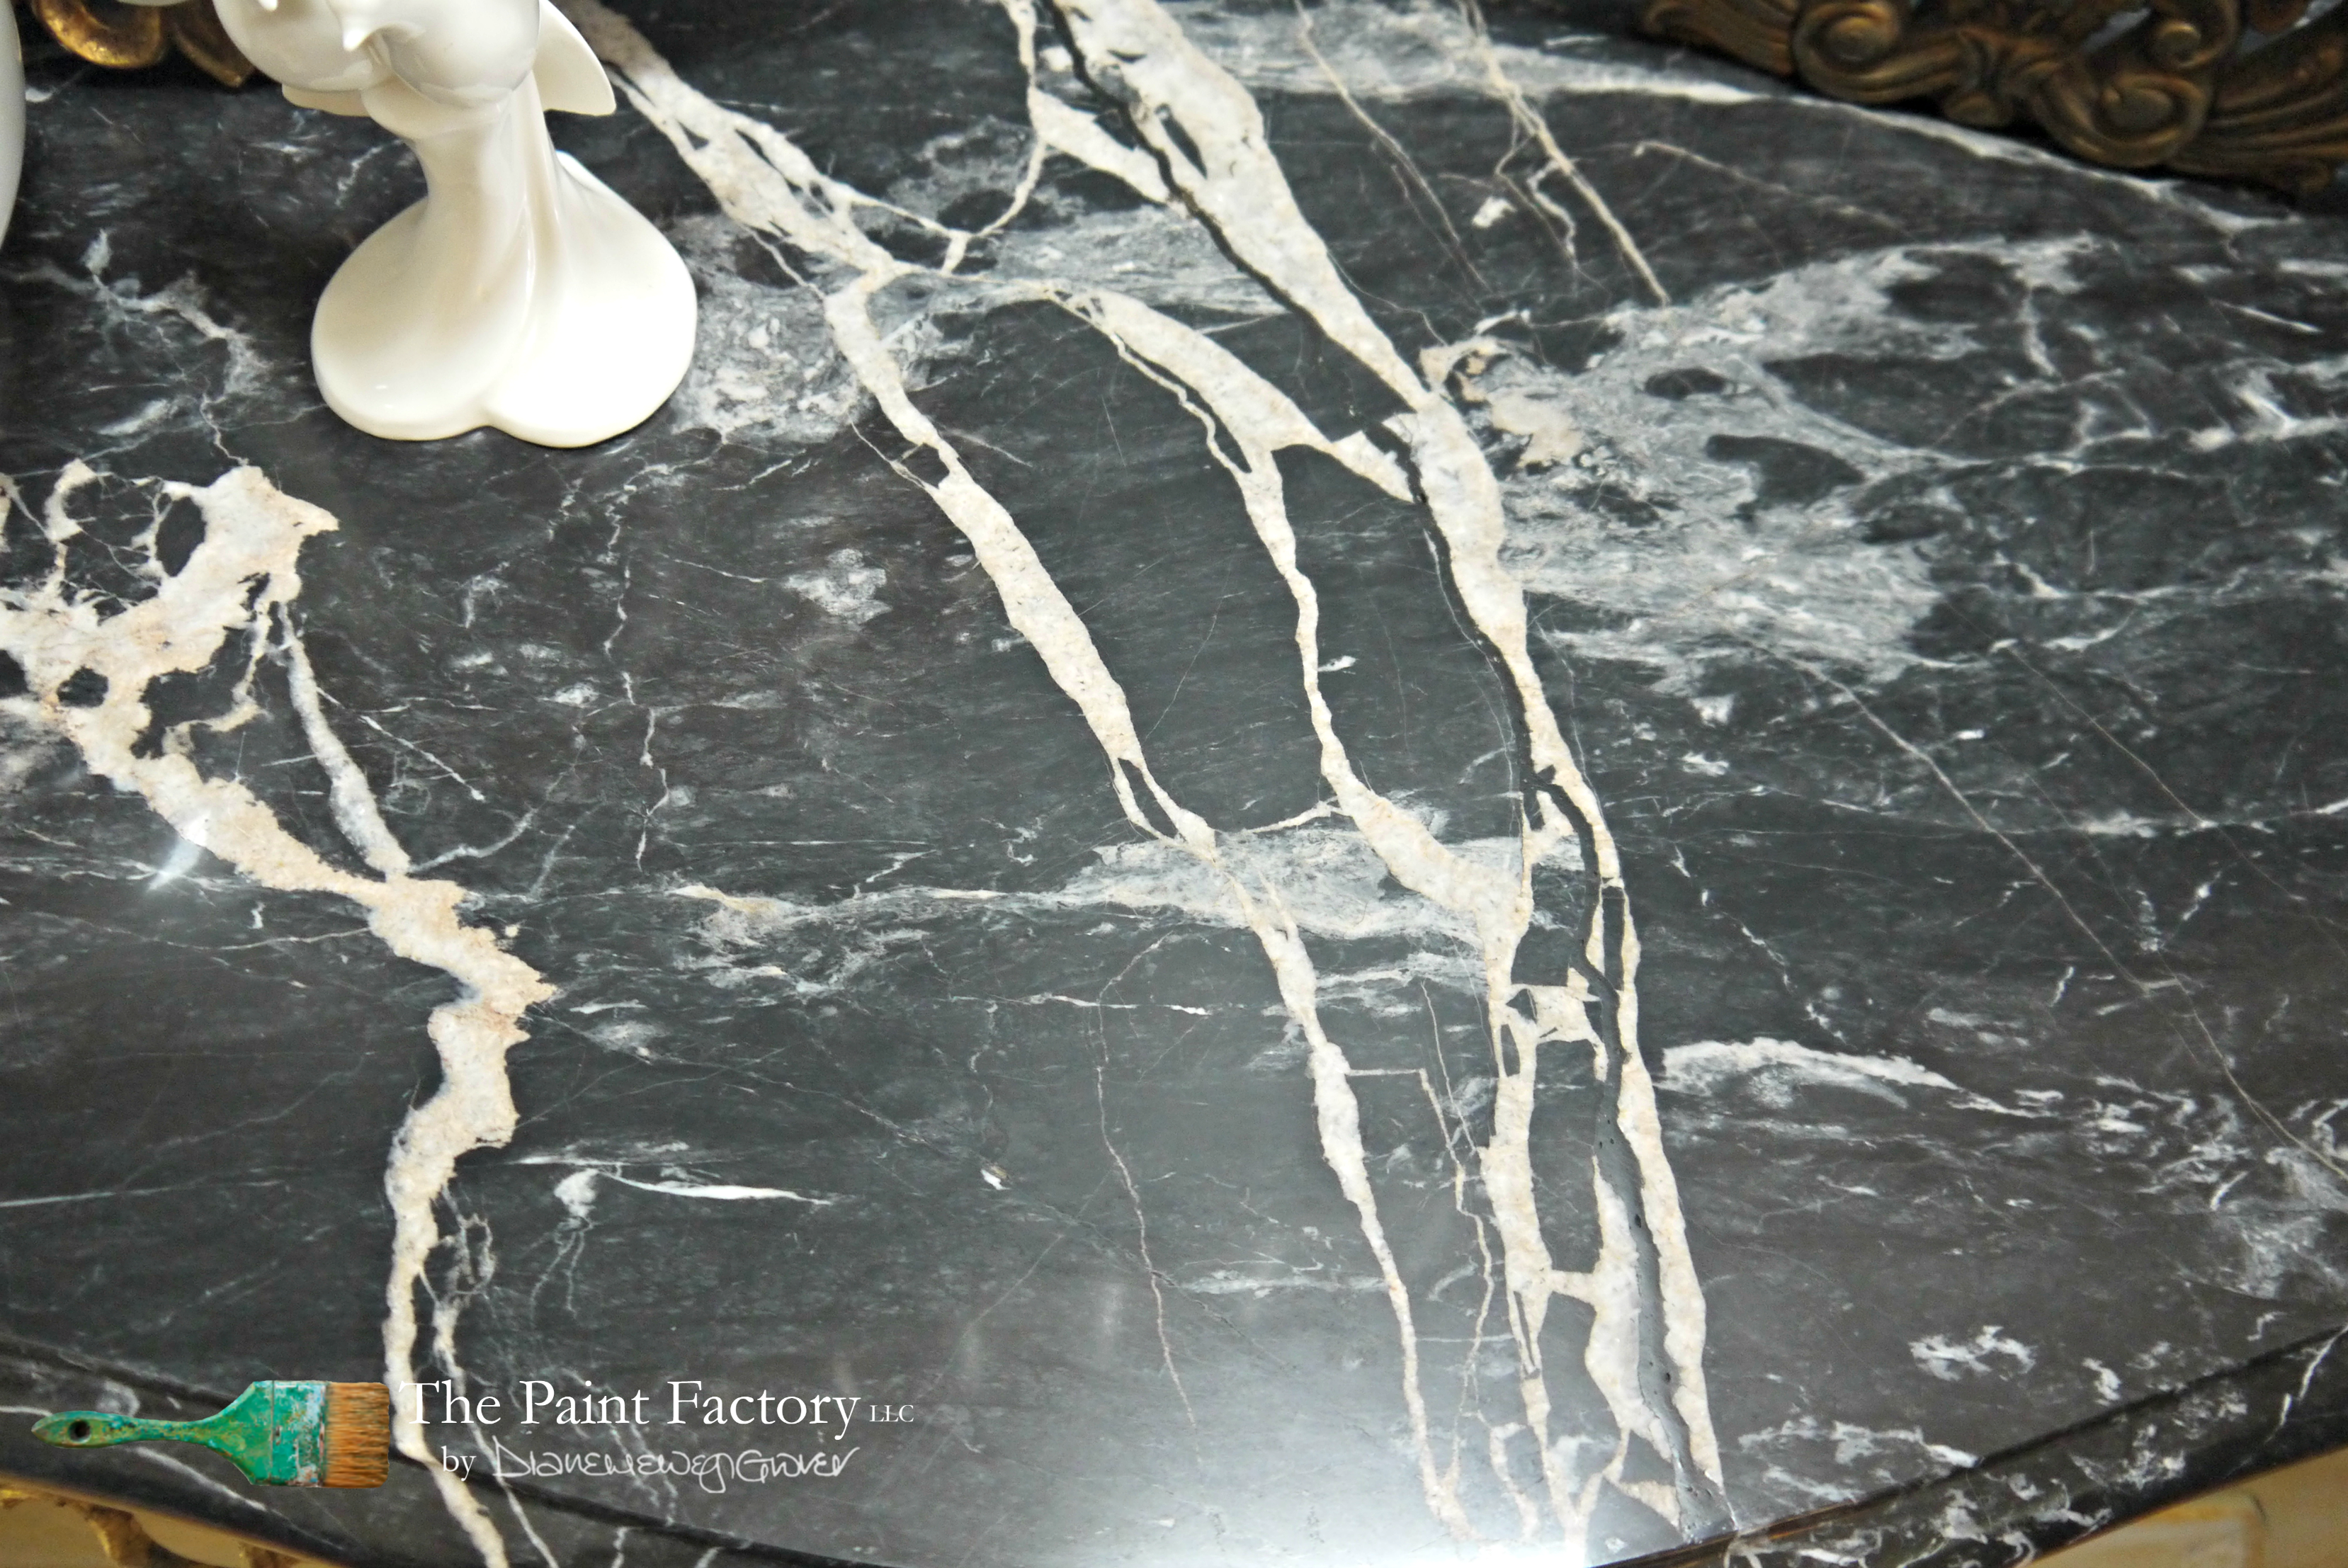
The marble top had been repaired. It’s actually quite a decent repair (fortunately the crack went along the vein) but for resale, it obviously would impact what I can ask for it.
Plus, it’s a Reproduction. There’s a stamp under the marble saying that it was made in Egypt, and imported to Washington.
And let’s not forget the hideous peeling veneer. So I would say, in hindsight, it was an easy decision to make: It would be painted.
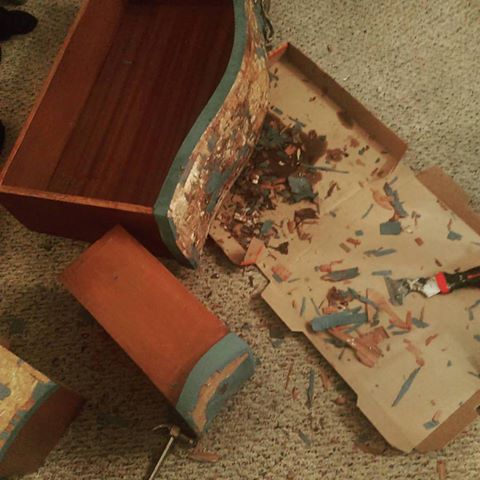
Because the veneer was so ‘busy’, I decided to paint over it to really ‘see’ what state the veneer was in (the light paint coverage would, hopefully, highlight the problem areas). Oh Boy! A complete and utter mess. My mental health was more stable than the veneer (and that’s not saying much. Believe me).
So – off to work. I brought out my industrial garment steamer. (Before rumors start going crazy, I don’t steam garments. I bought it because Joann Fabrics had it for sale for $29.95. And I love a sale. I use it more for steaming upholstery fabric and bringing life back to foam seats).
AND, with an industrial steamer, this was going to be easy. I would steam the veneer (to make it pliable), splice it with a razor blade, add glue, clamp it and that would be it. But not so fast, Sherlock.
Because it wasn’t easy. Nothing in my life is easy. Karma makes sure of that. The more I lifted the veneer, the more it came apart.
I ended up removing the veneer of the ENTIRE body . My hands. My hands. Oh, don’t let me talk about my hands.
I prayed to St. Vinny, Patron Saint of Crappy Veneer. But to no avail. It was just me, a steamer and then later a heat gun, until I got to this stage. Once the veneer is lifted, you then have the chore of removing the glue. (At this point, you start to think that buying from IKEA is a pretty good idea).
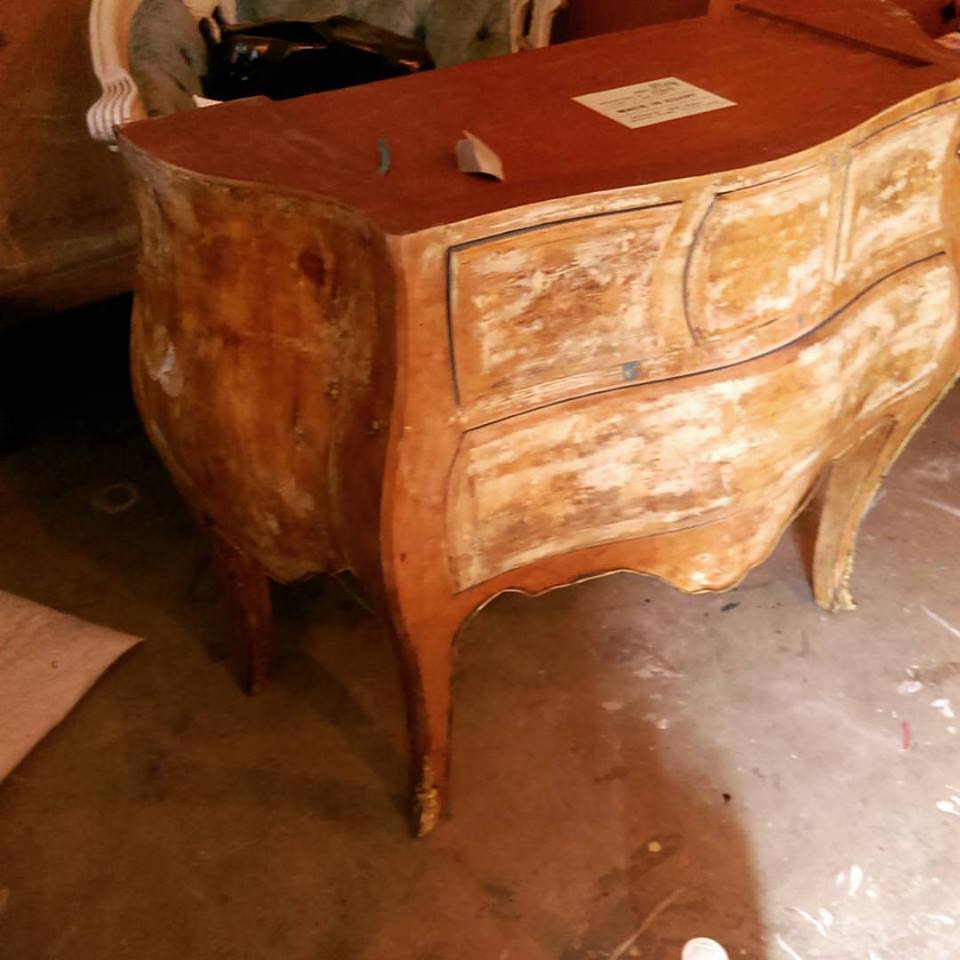 Great lines, right?
For some reason I have a really hard time doing a light base color. I always tend to go dark. I think it lends itself to a better patina.
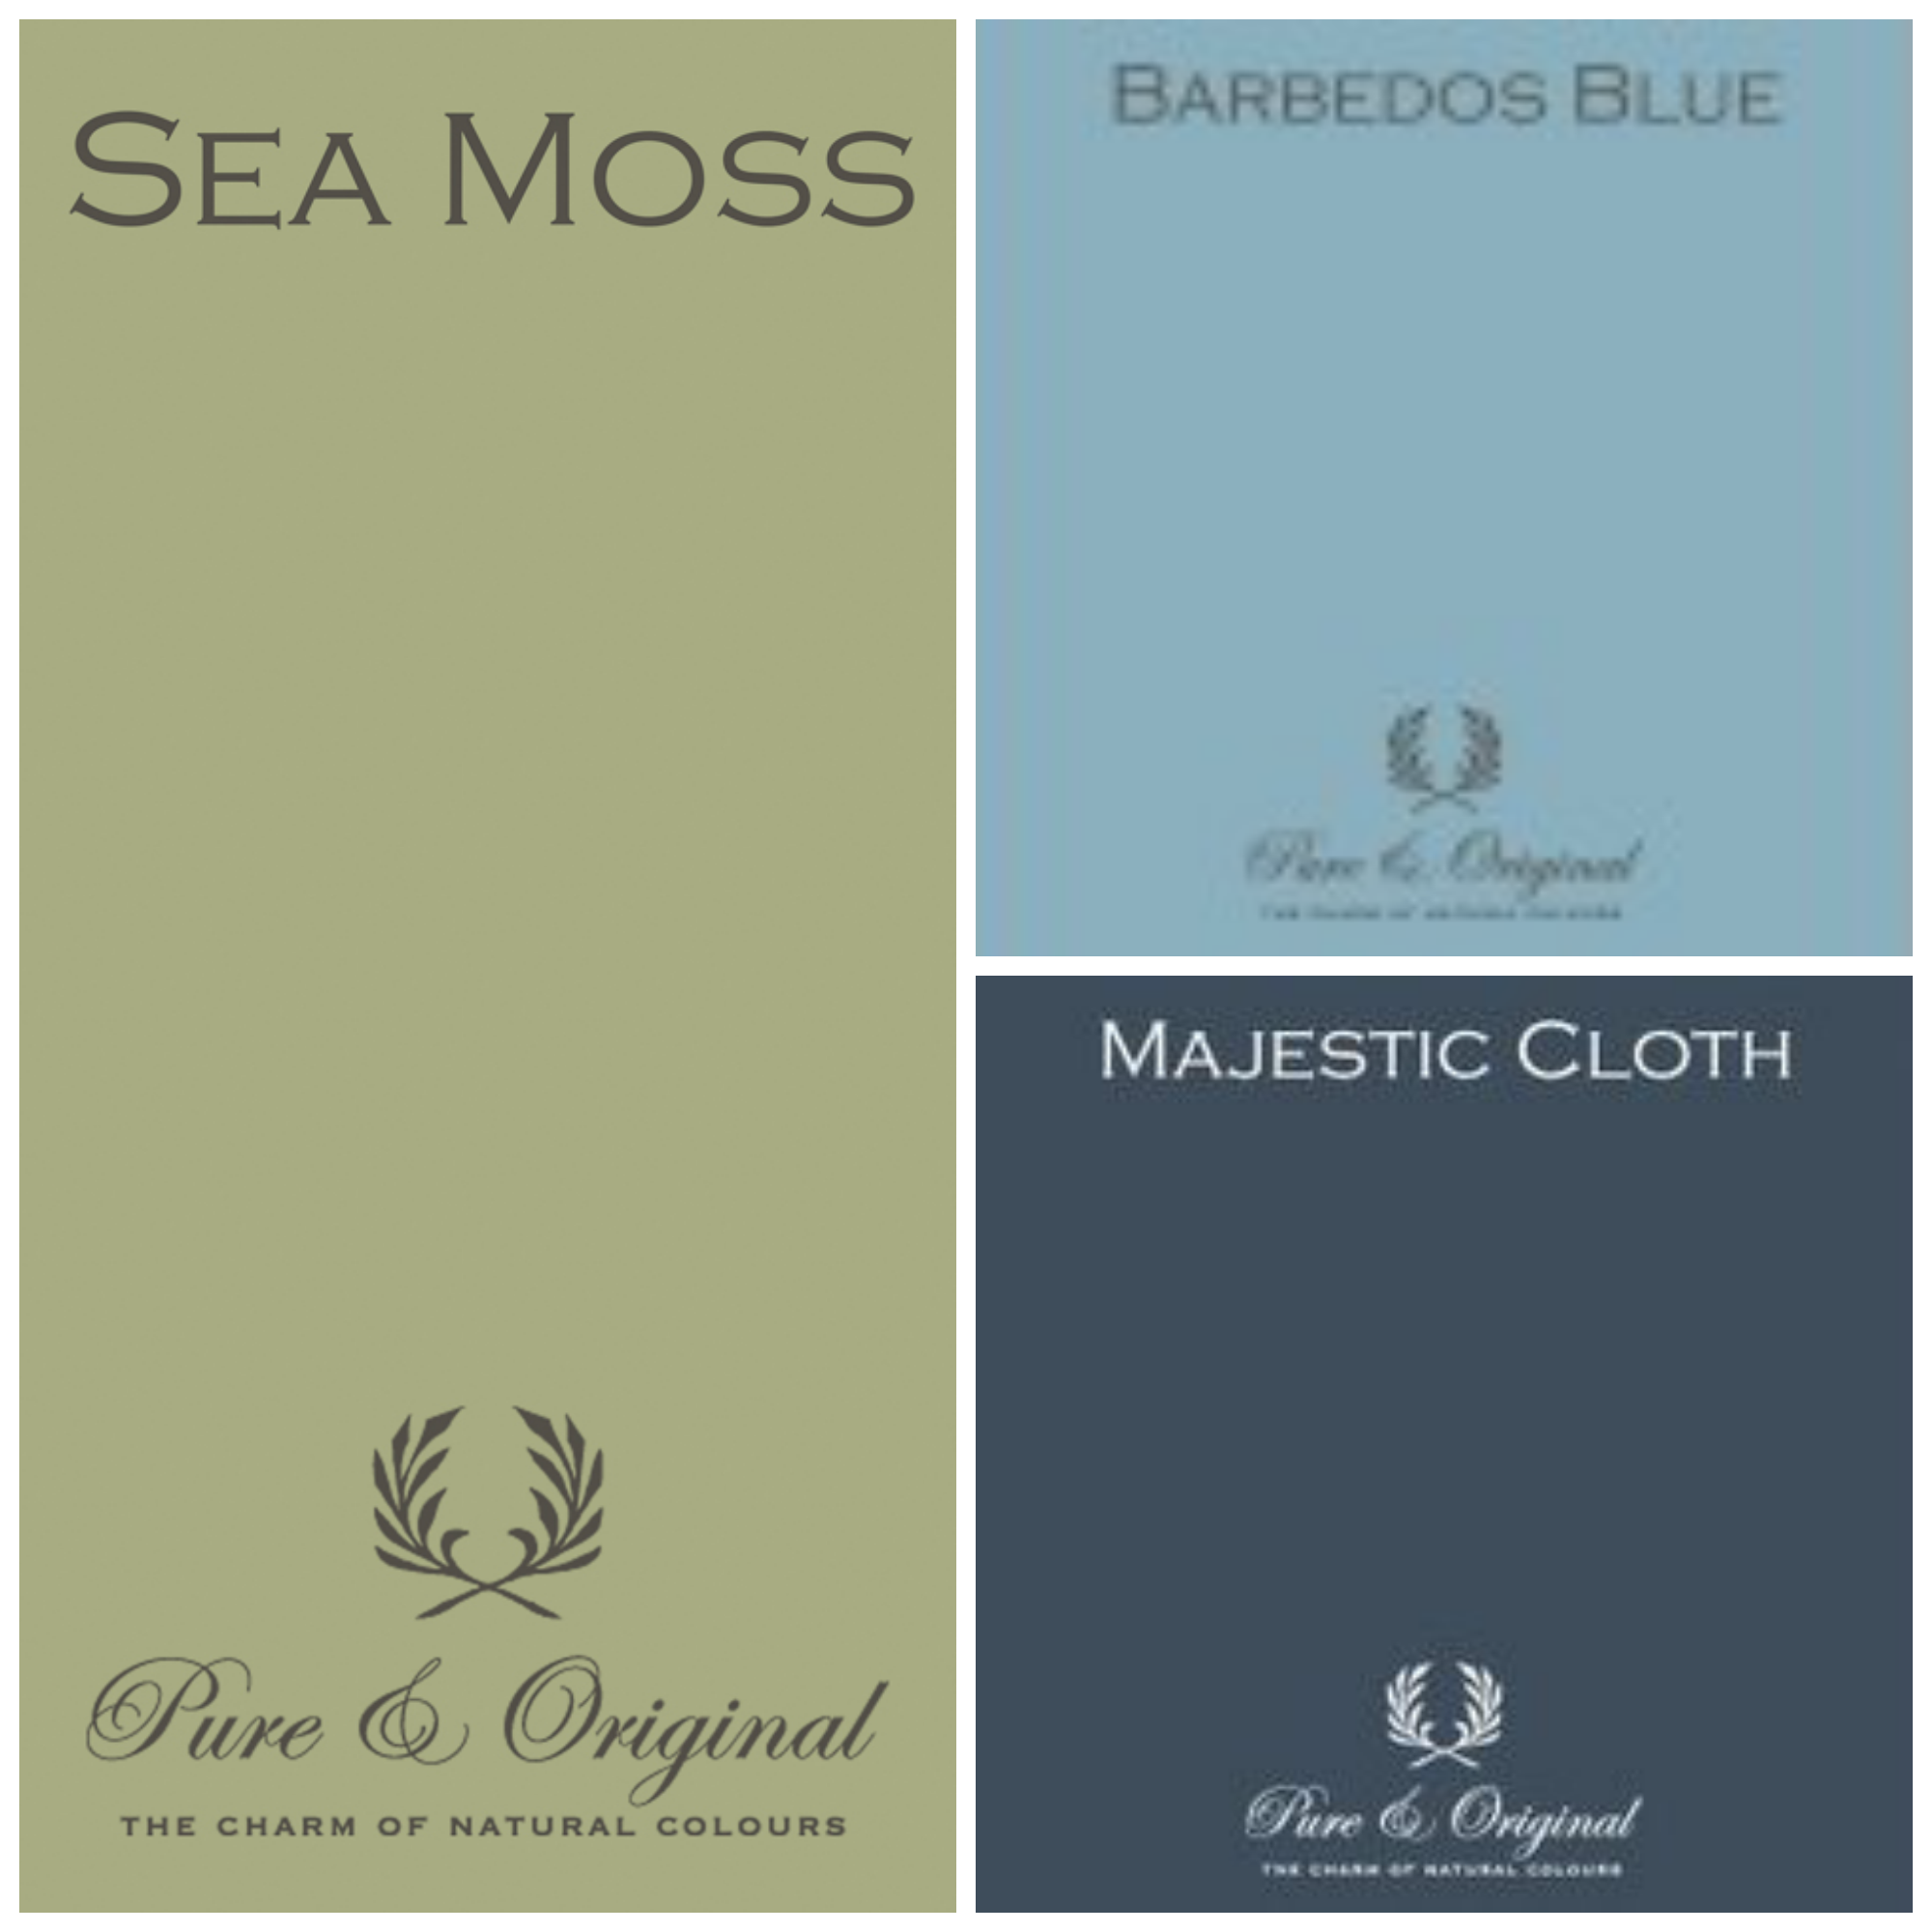
For this piece, I used Pure and Original Classico Majestic Cloth (it’s a beautiful deep blue/purple), then I put a top coat of Sea Moss (grey/sage green) and added Barbedos Blue (a light blue/grey color) with a clear glaze in certain areas. Adding clear glaze to a color gives you a more translucent finish, almost like a watercolor effect.
I wanted to give the Bombe Commode the look of plaster. There were so many nicks and imperfections that I decided to run with them. I also have a problem filling in every nick on a piece of furniture. I’d rather just accept the flaws and put them down to ‘character’.
I love playing with glazes, both clear and dark based ones. I think they give a more authentic patina than dark wax (which I really don’t use).
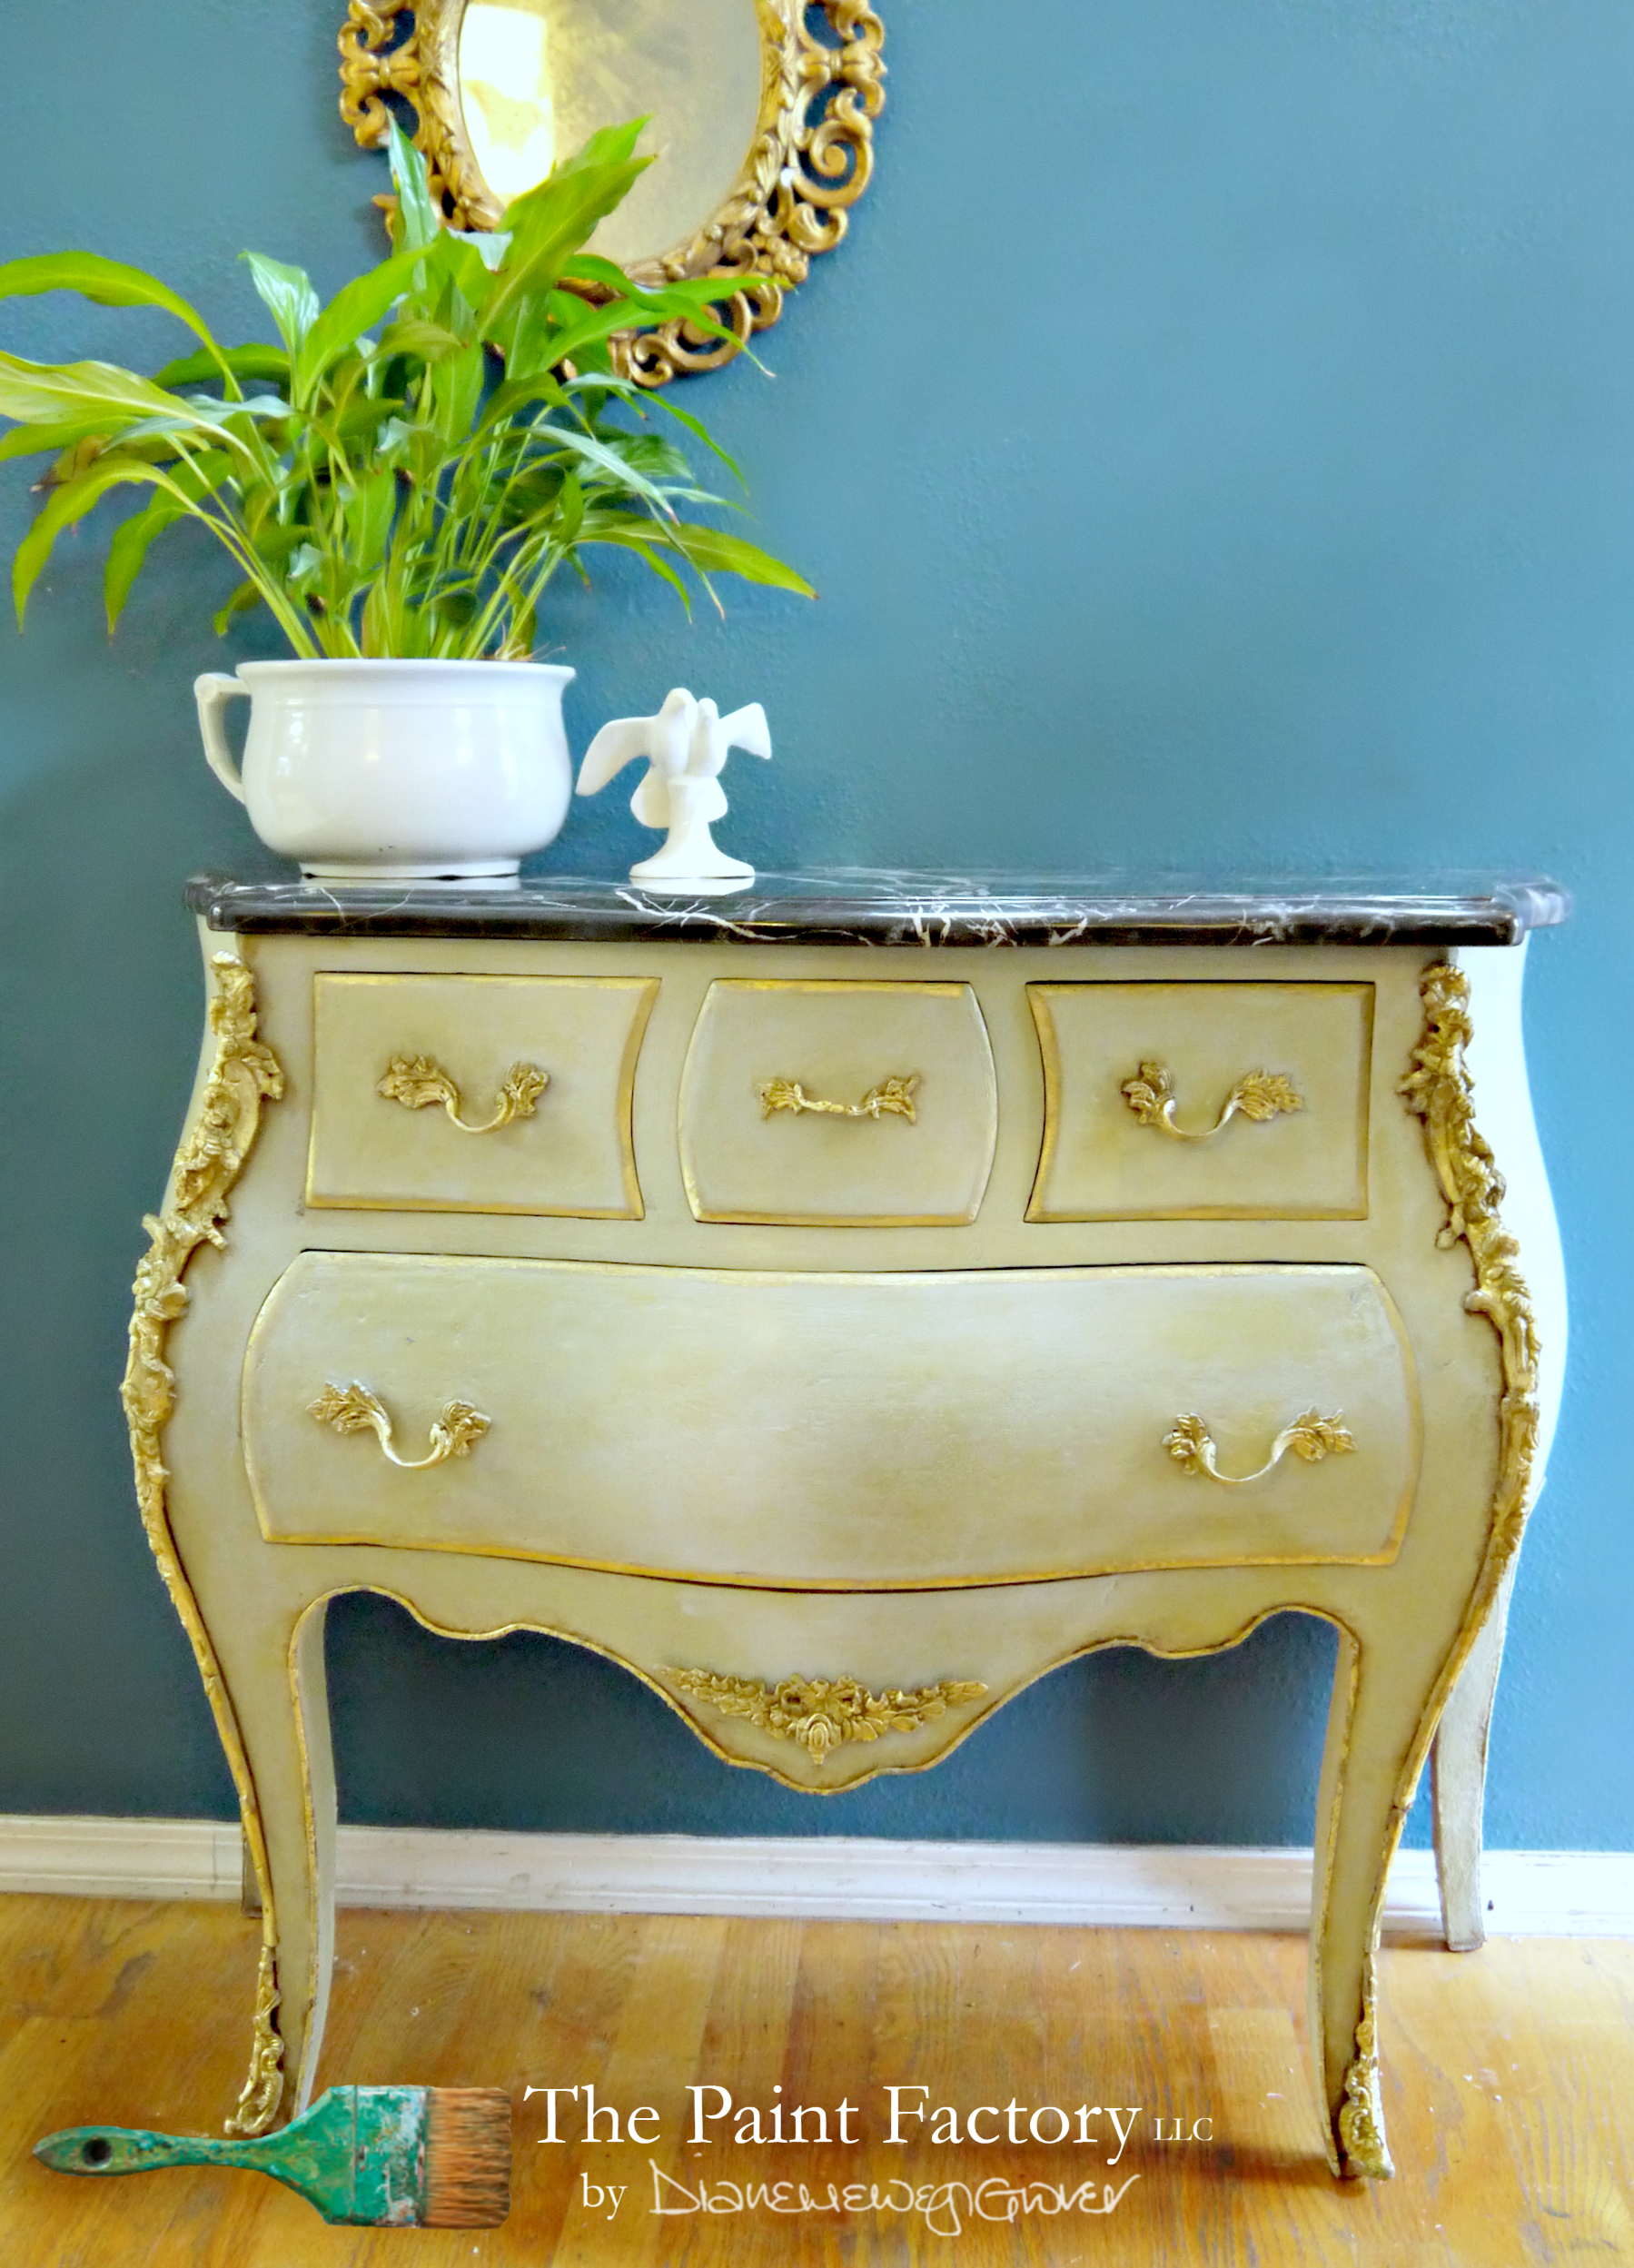 It took many many steps to get it to here. The ormolu I gold leafed, as well as the handles and drawer edges. I sealed them with Pure & Original Dead Flat Eco Sealer. I love gold leaf, but I hate the shine. It can be too ‘blingy’, too new. I want my gold leaf to be muted. I have left some areas of the original brass finish to peek through.
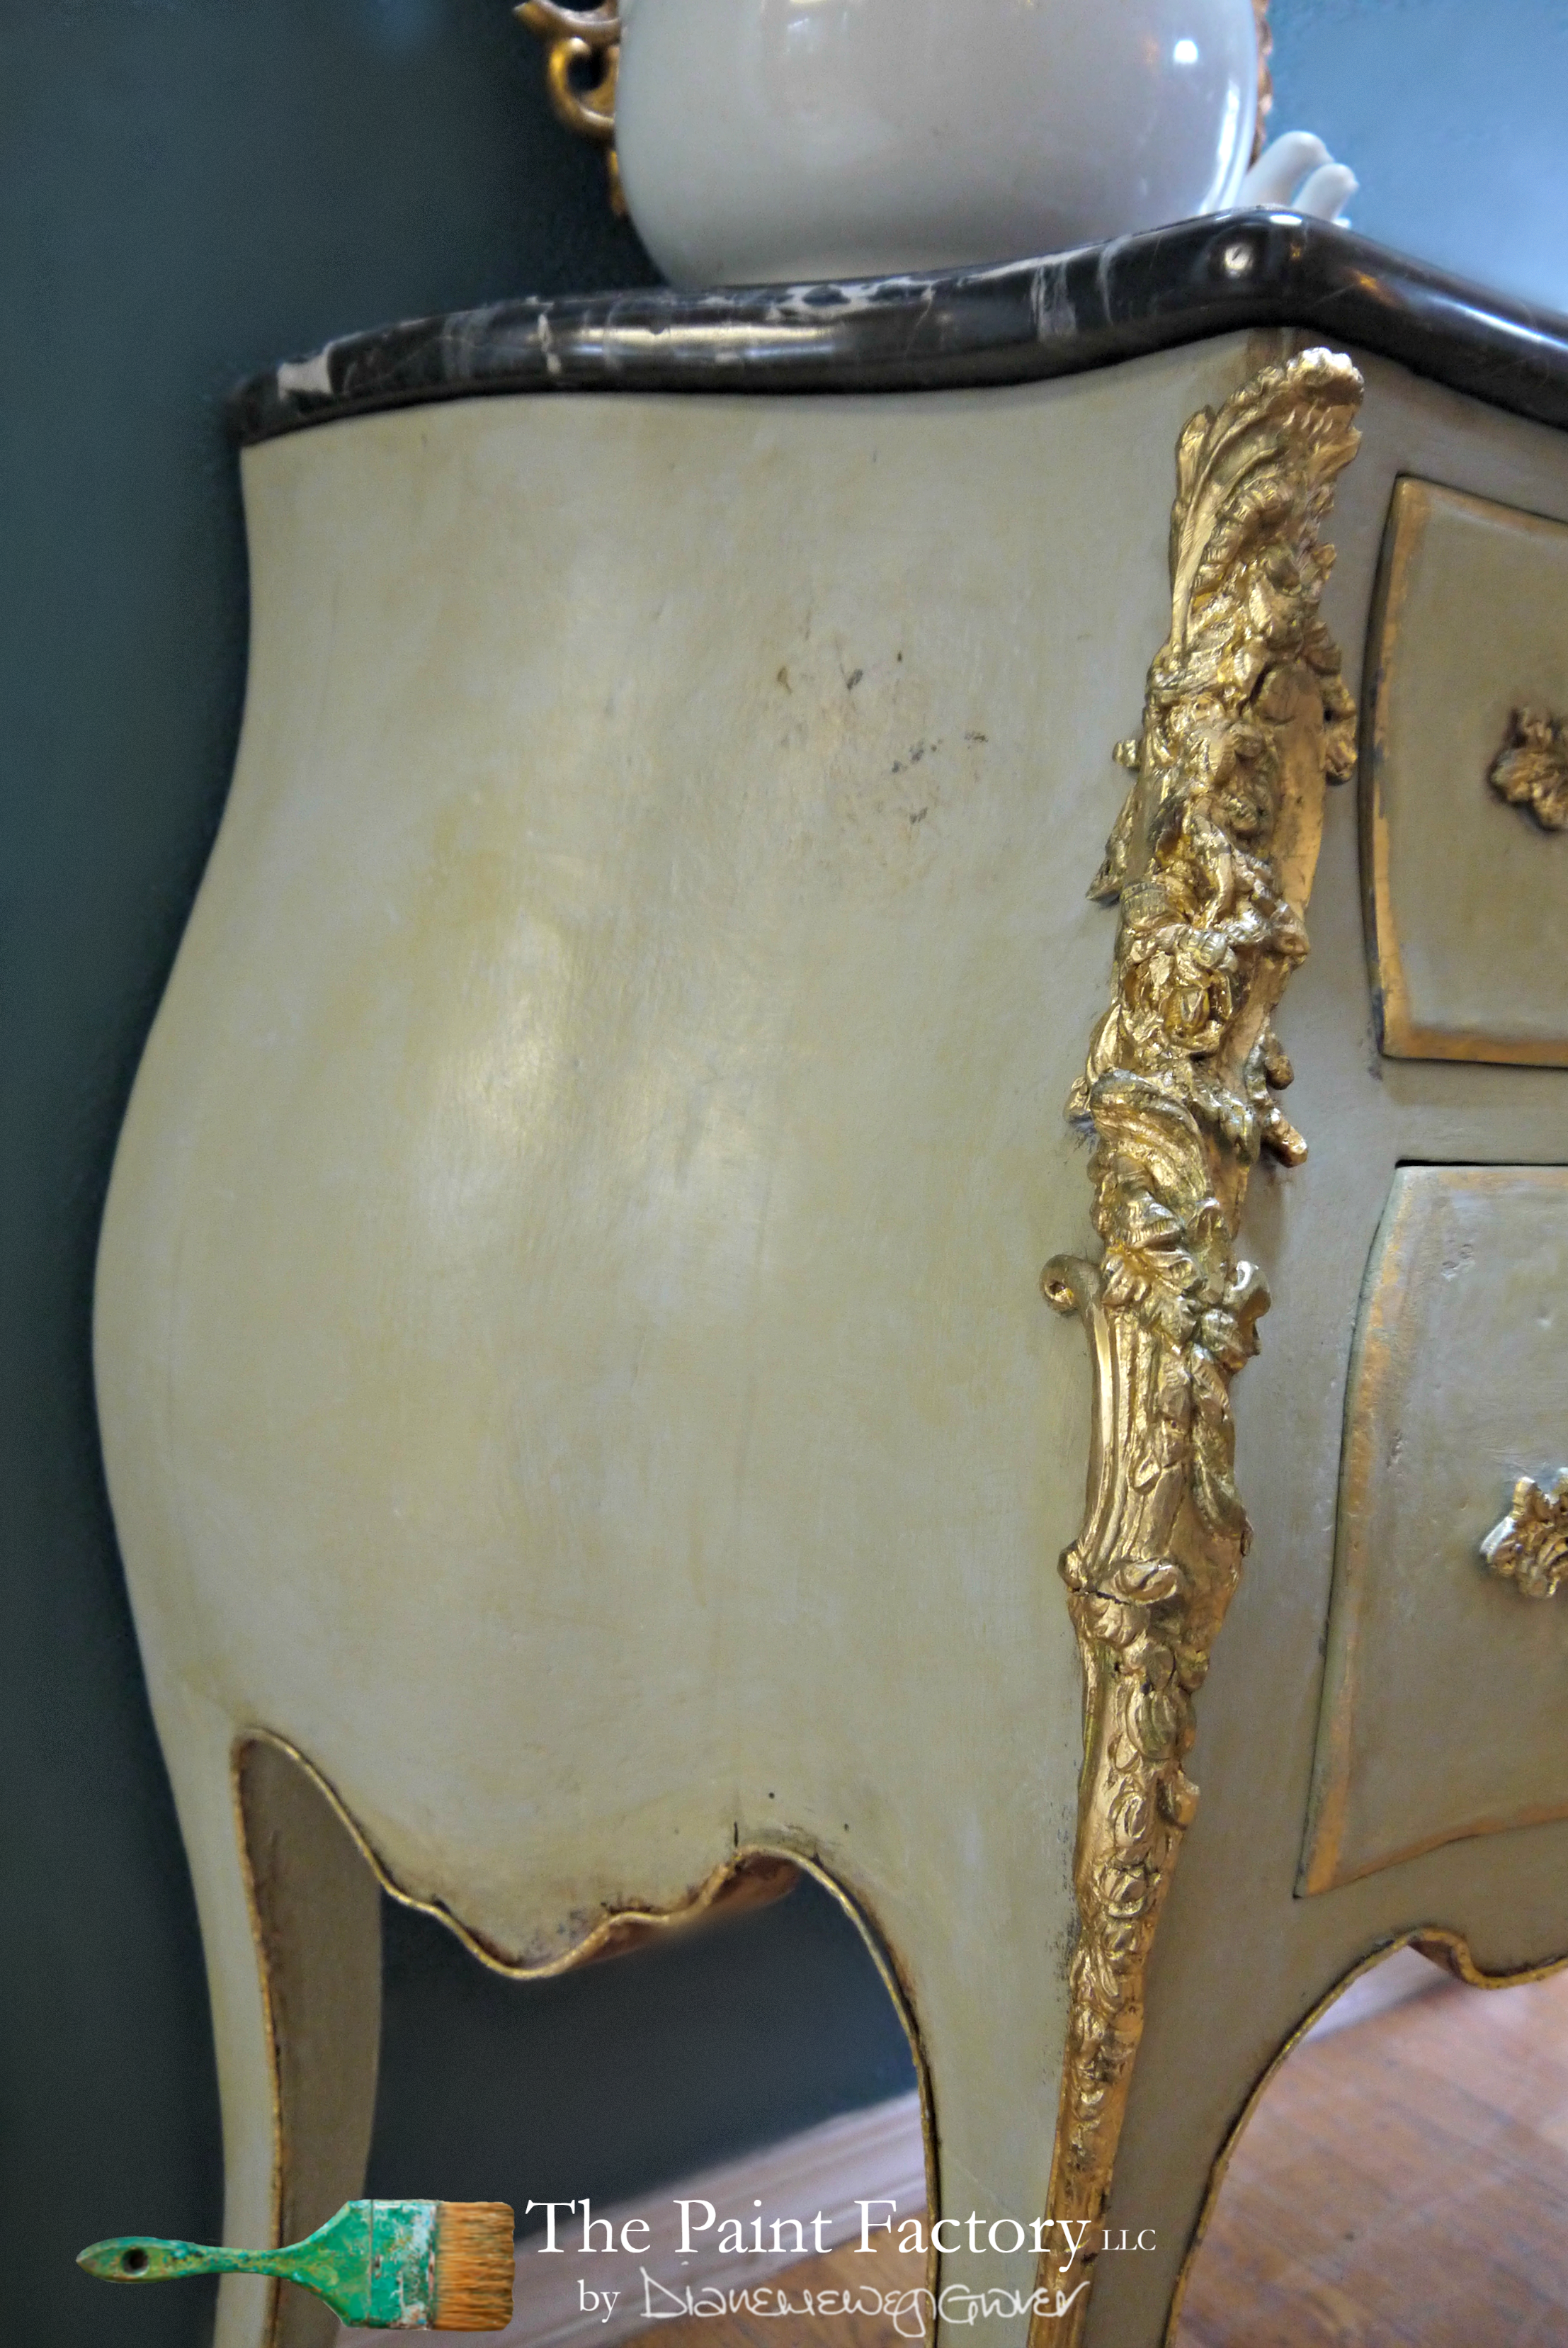 The imperfections of age I love. I never set out to make my painted pieces look ‘new’. I want them to have character, and so the detail work is my favorite part of doing a piece. Here I’ve used four or five different glazes, and different paint consistencies to get this effect. It’s all about thin layers. Lots and lots of thin layers. The Barbedos Blue glaze, gives the appearance of a greyish/blue hue over the Seamoss, on this piece.
It helps pull out the bow shape in the piece.
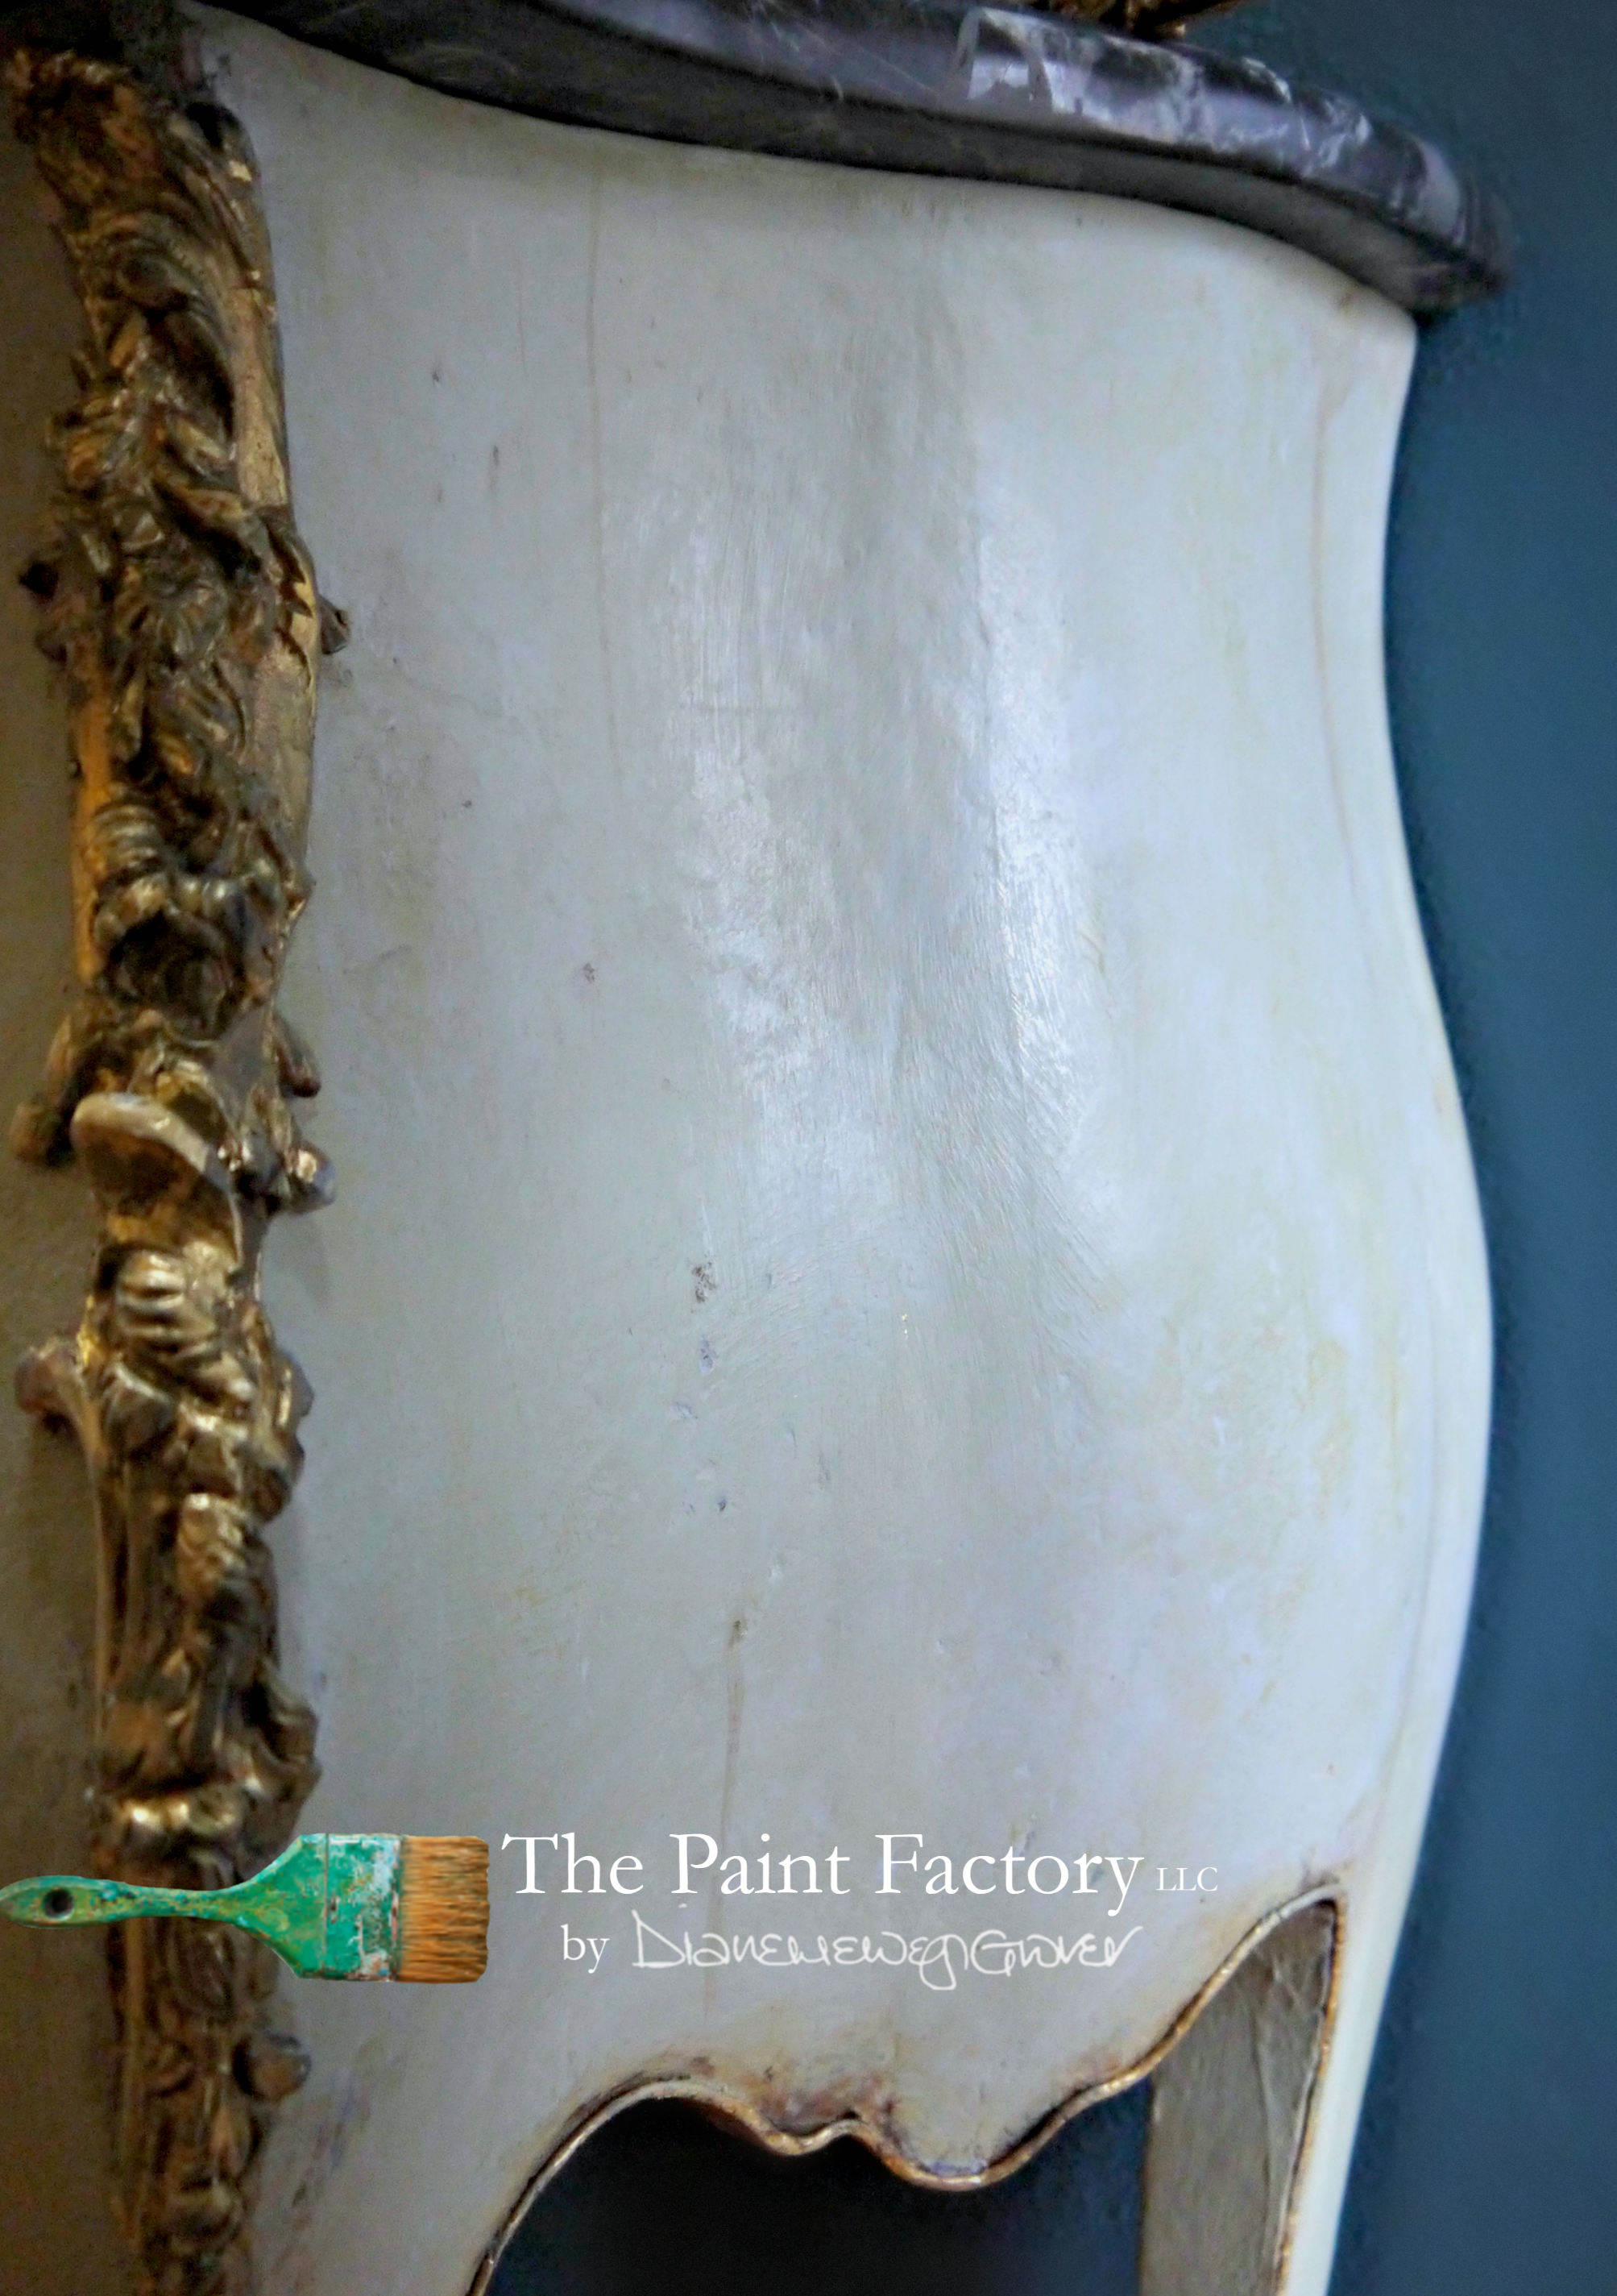 See the dark lines going up the side? It’s the seam of the wood planks glued together to get the bowing. You could see it slightly, but I emphasized it by using a tiny artist brush and a dark glaze. Pure & Original Classico doesn’t need a wax (it has a built-in finish) but, because I use glazes (that do need to be sealed) I finished the piece off with P&O Italian gloss wax. If you buy one thing from P&O, let it be the wax. It is sublime.
Here’s my affiliate link, click here
Sensational shine. The glow is almost equivalent to my menopausal one. Yes, it’s that shiny!!

This is a piece that seriously tested my patience. It was the proverbial ‘easy’ job that nearly ended up being my demise.My hands. Oh, please don’t let me talk about my hands.
The splinters. The blisters. For what?
Well, for this.

It’s da bombe.
{insert catchy ending phrase here}
Diane aka The Paint Factory
In all transparency, this post has an affiliate link to Pure & Original. What does that mean exactly? Well, if you click the link you go directly to the official P&O website. If you choose to buy, I get a small commission. Trust me, it’s not enough to sell my soul – or put red meat on the table. But it helps me financial the maintenance of this amazing average blog.
But (between you and me) I would promote/use this produce if they didn’t get me the affiliate link. But don’t tell them. They don’t need to know.